Quick answer
Draw the kitchen to scale and mark the walls, openings, and fixed services first. Place your sink, cooktop, fridge, and cabinets in the plan, then review the layout from above and at an angle. A 3D preview helps you locate tight spots. To decide whether the layout will work, measure the aisle and compare the space needed for open doors and drawers with the actual appliance and cabinet specifications.
1. Mark the kitchen boundaries and fixed points
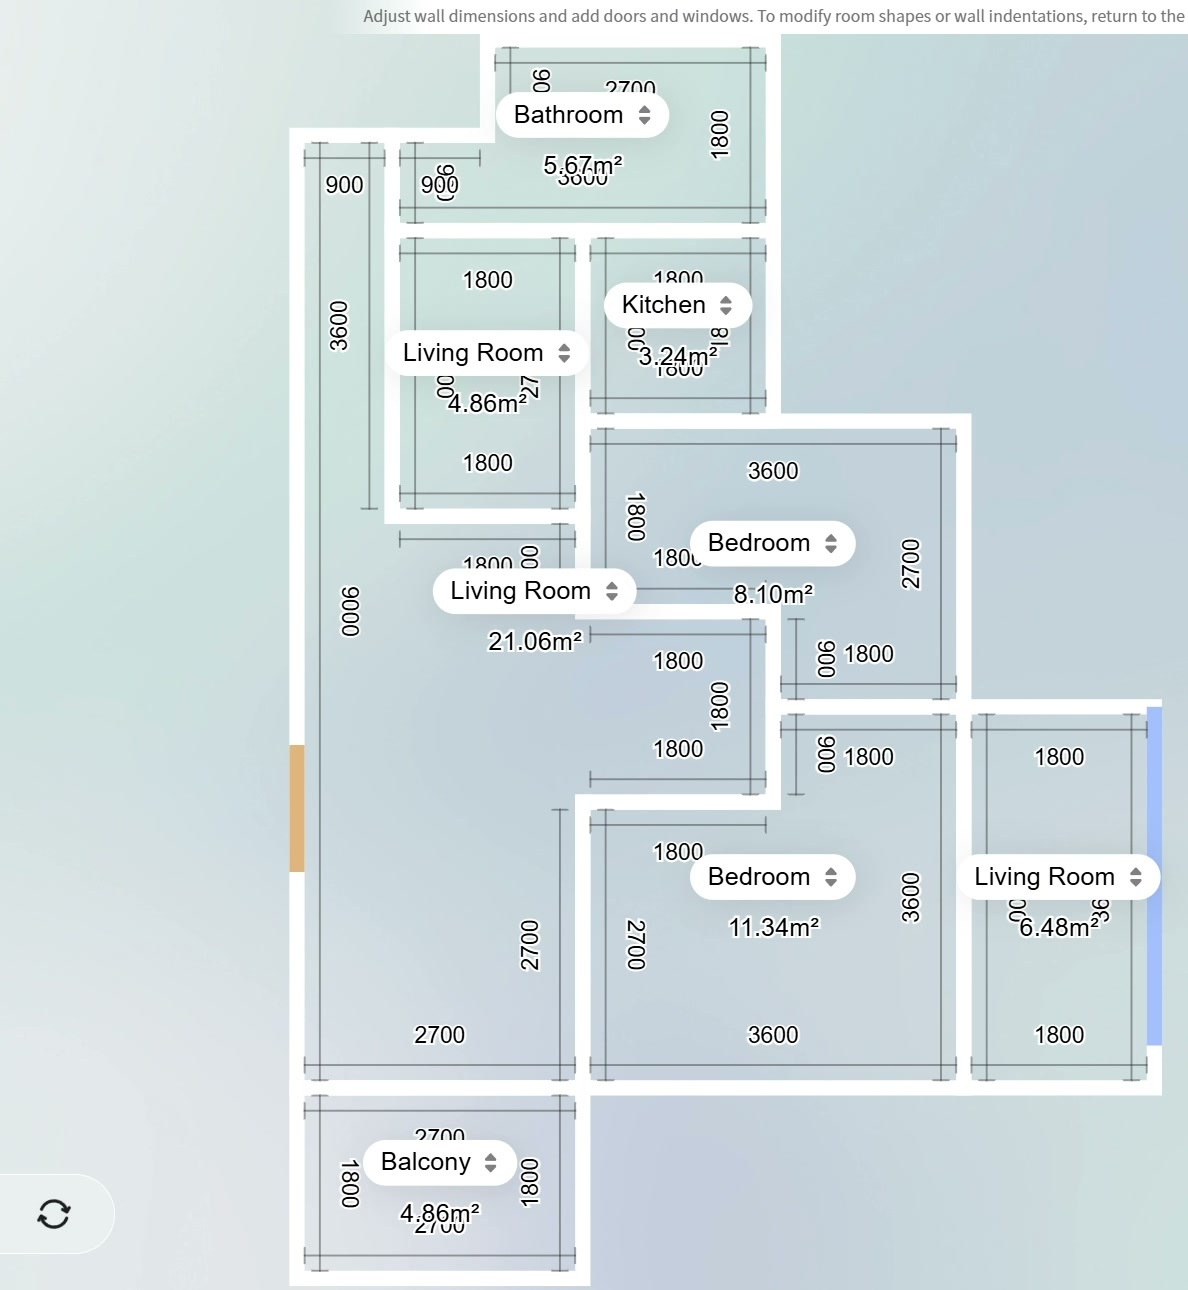
Measure between the finished walls. Note the width and location of the doorway, window, and any columns or projections. Record the window sill height if you want a worktop under it. Mark the present sink connections, relevant outlets, and extractor location. Keep these notes next to the drawing so you can flag any part of the proposed layout that requires moving services.
2. Arrange the everyday tasks before filling the cabinets
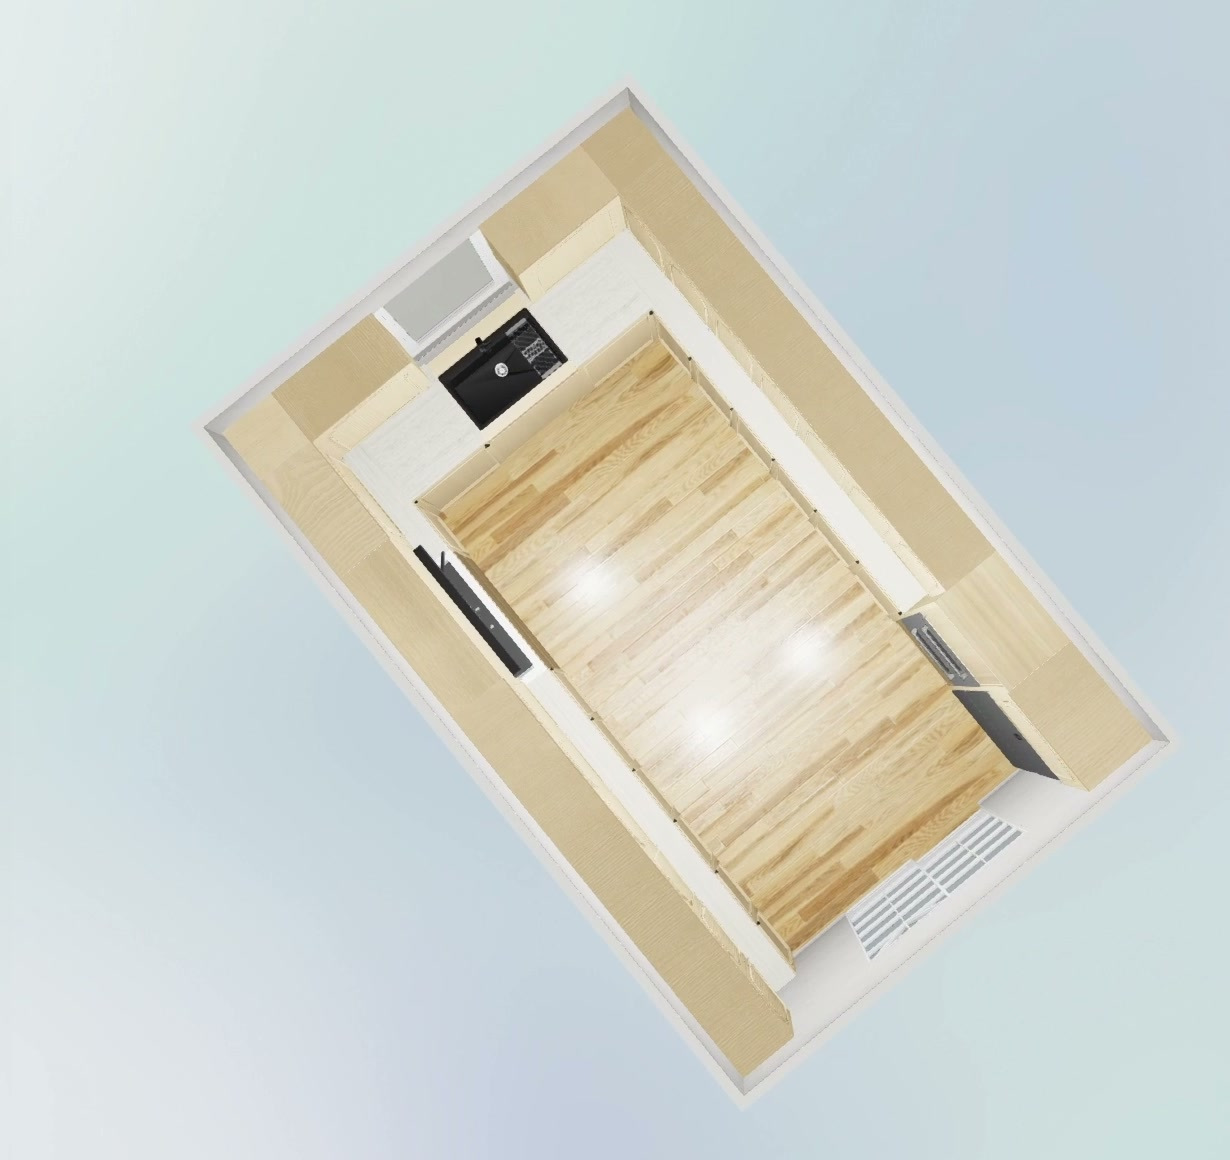
Open the design workspace from SenHOME Web and place the large items first. The kitchen and bathroom design page shows examples of cabinets and appliances in a room preview. In your own model, switch to an overhead view and trace a routine you use, such as taking ingredients from the fridge, washing them, preparing them, and moving a pan to the cooktop. Find a clear section of worktop for each step, including a place to set down groceries near the fridge.
3. Check doors, drawers, and appliances in use
Rotate the preview to see what is next to each opening point. In the example, the tall fridge sits next to a tall cabinet. That is a place to check the fridge hinge side, handle projection, and whether the doors can open far enough to pull out the internal drawers. At a corner, check whether a drawer can extend without catching the handle on the neighbouring unit.
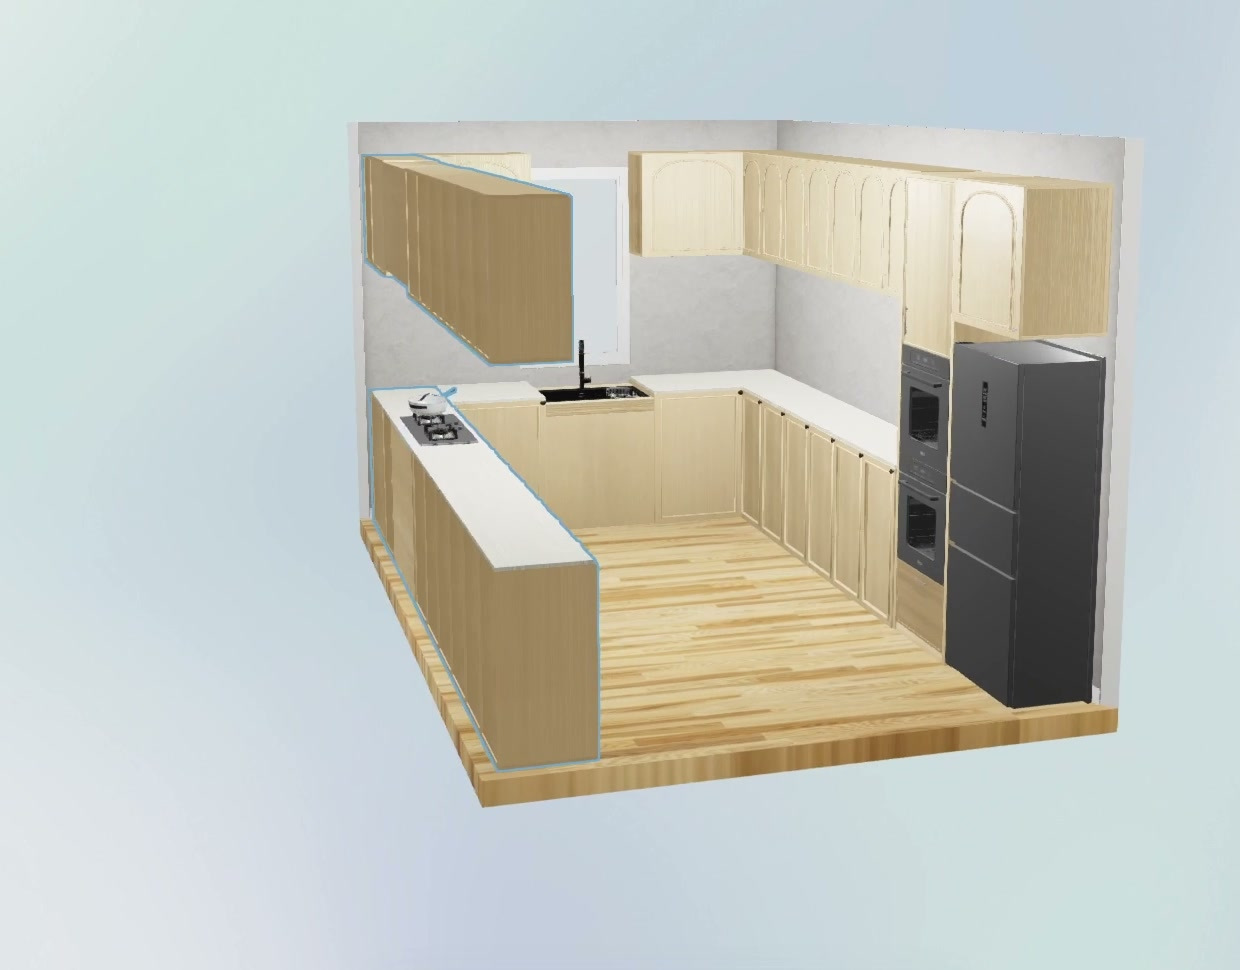
On your measured plan, draw the swing of each door and the outline of each fully extended drawer. Use the dimensions provided for the models you intend to install, including handles where relevant. Then mark the planned cabinet faces on the actual floor with painter’s tape and check the tightest spots. Include the space a person takes up while using each appliance, especially if the open dishwasher or oven shares a frequently used path.
4. Check the route into the kitchen and record what needs verifying
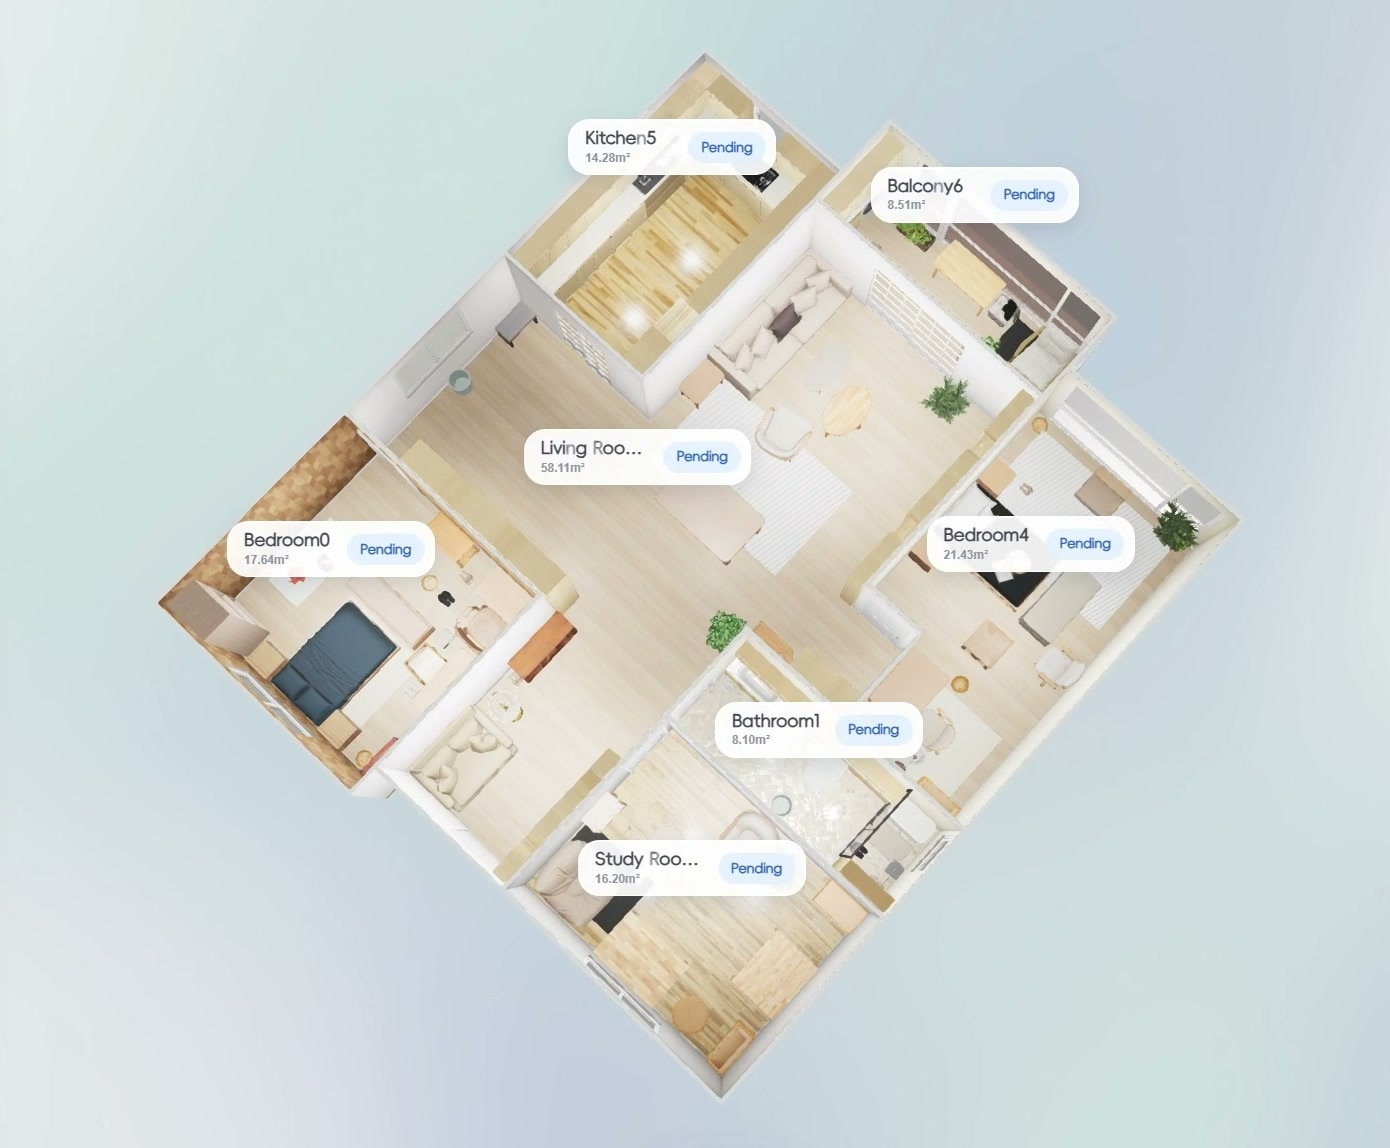
Zoom out and follow the route you would take from the adjoining room to the fridge or sink. Check whether another person could walk through when someone is using the kitchen. If a single spot is tight, try moving one cabinet or appliance in the plan and review that route again before changing several things at once.
Finish with a short list of measured openings, cabinet dimensions, and possible conflicts. Ask your installer to confirm the room dimensions and any plumbing, ventilation, or electrical changes before ordering. For a broader walkthrough of the 3D views used in planning, see the SenHOME interior design guide.