In a SenHOME interface recording, the light floor finish of a furnished bedroom changes to a darker wood texture. The bed, wardrobe, desk and geometrically patterned walls remain in place. The sequence first shows the original floor, then the selected surface and a material sample, followed by the changed version from the same viewpoint. This example of interior design in 3D lets us examine the influence of one surface on an already furnished room.
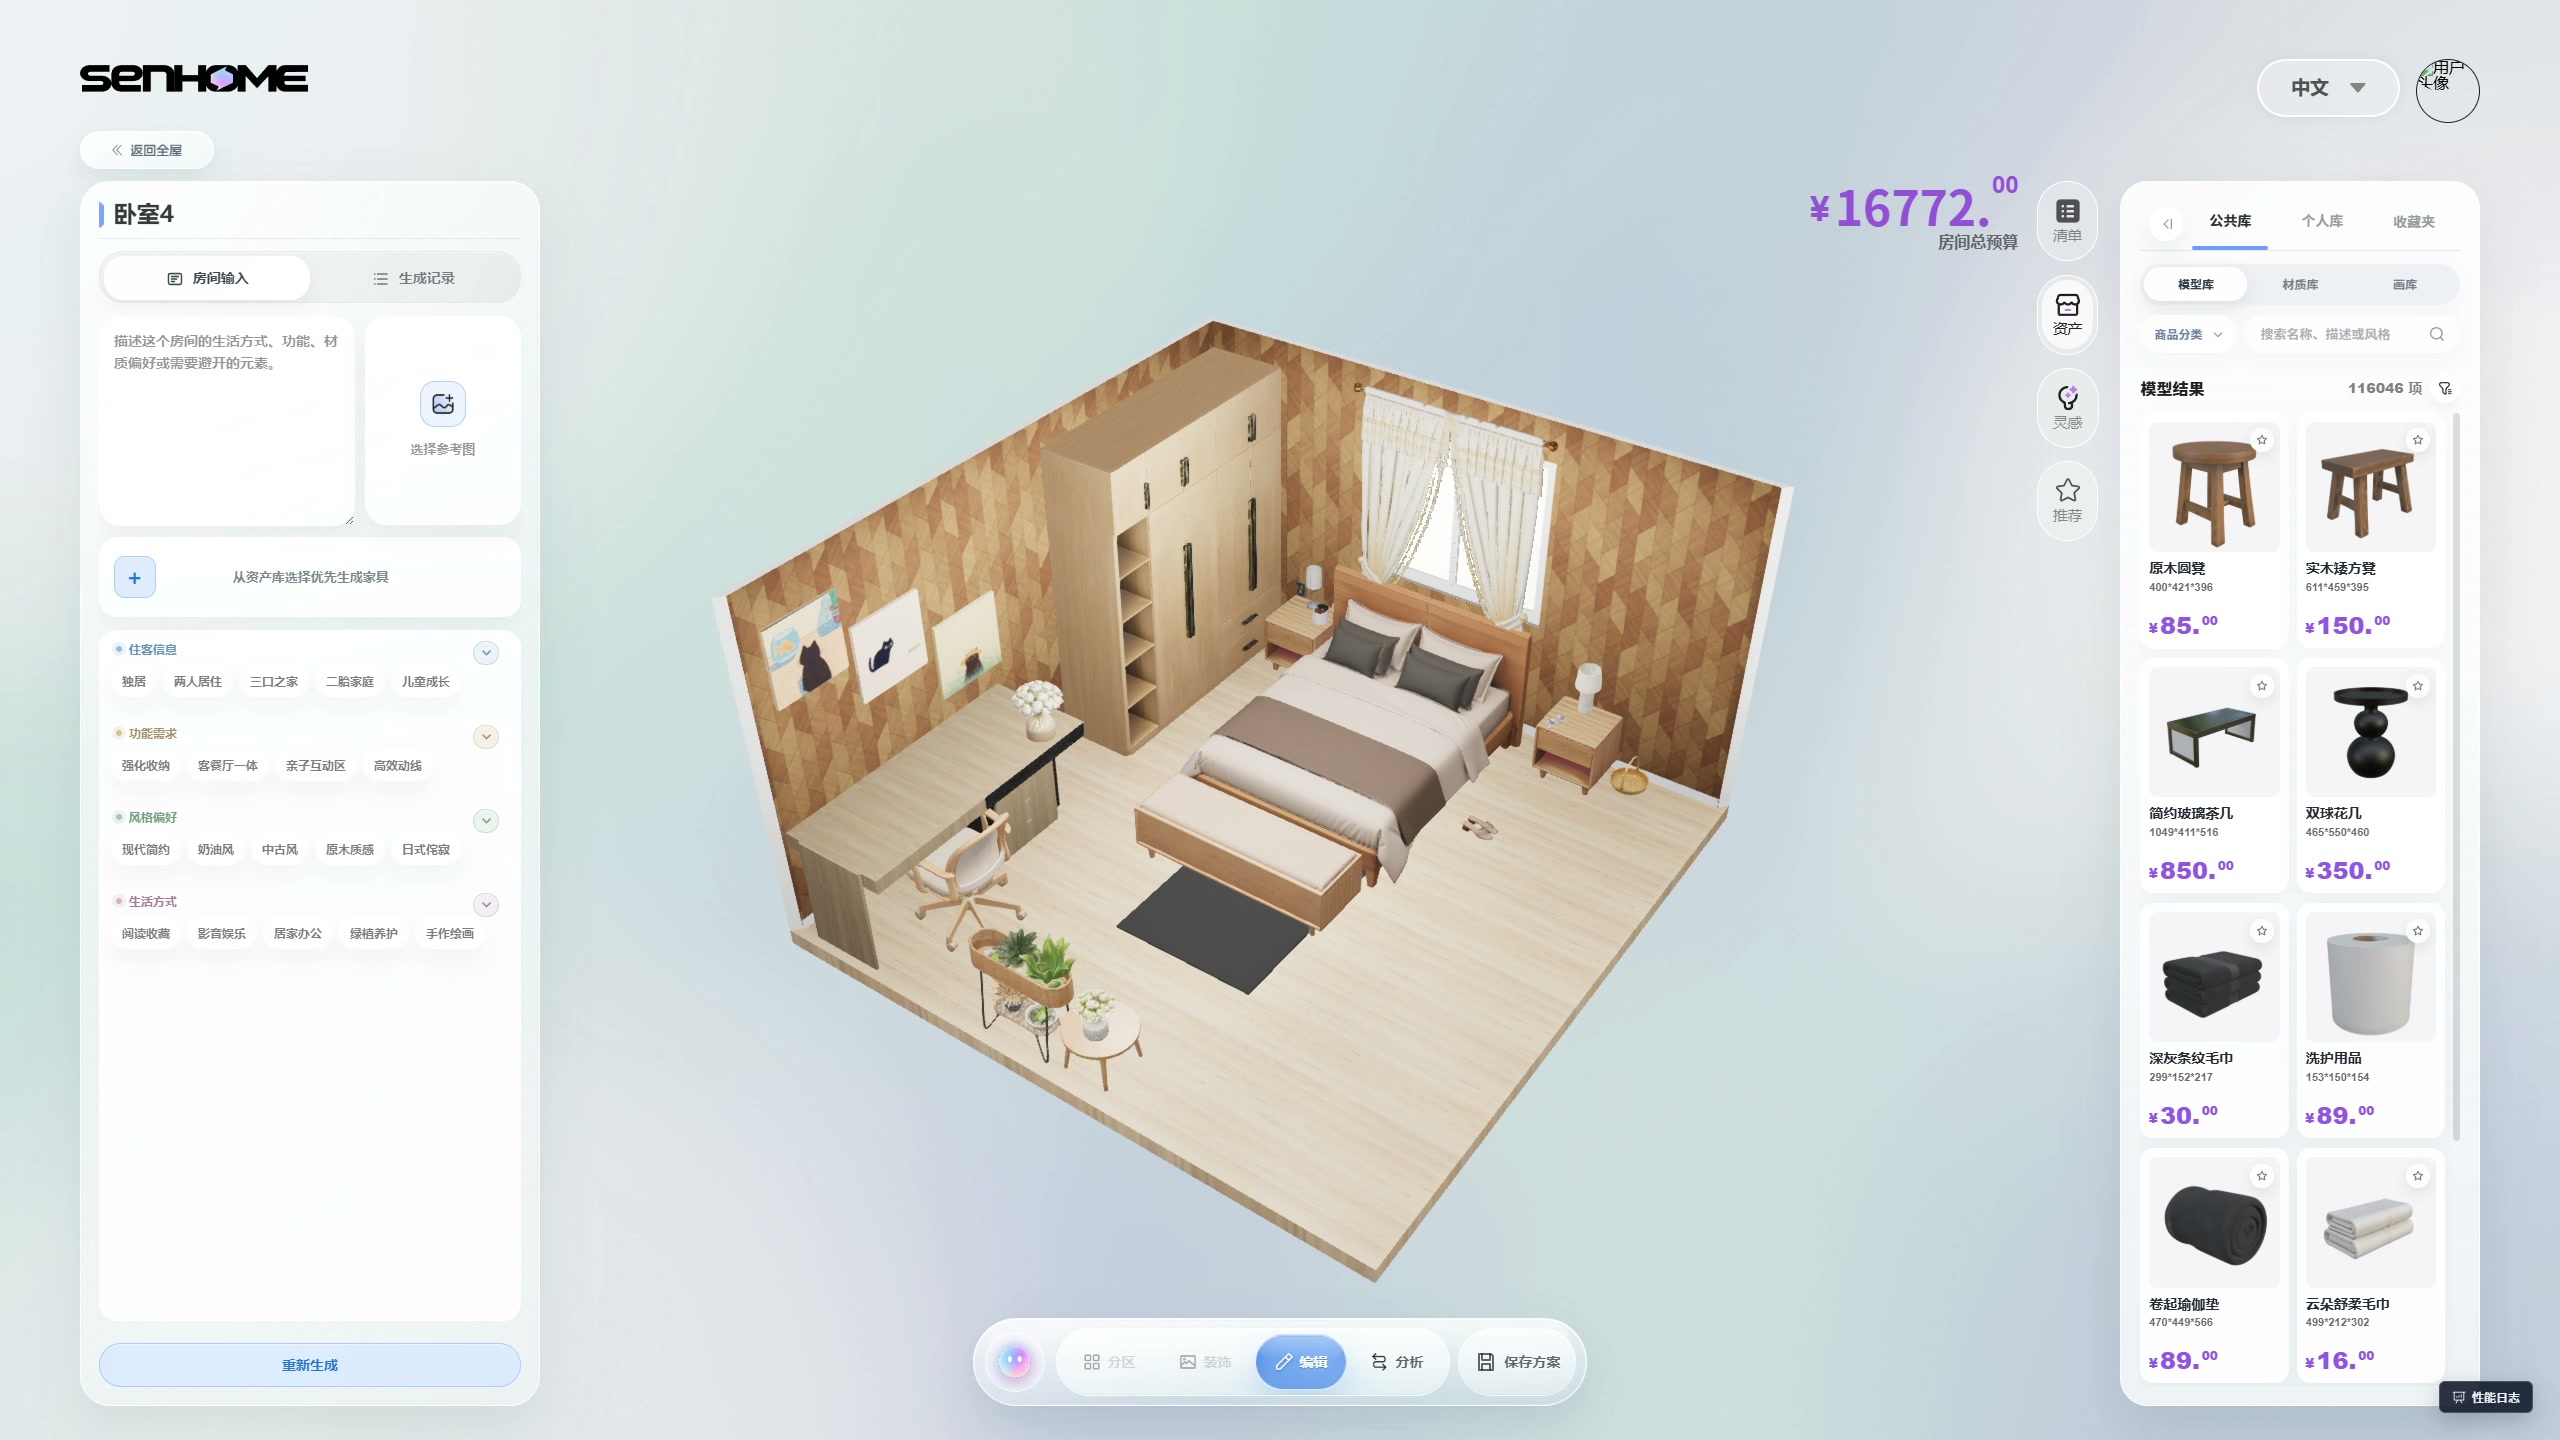
The original bedroom with a light floor
In the first frame, the bed sits below the window, a tall wardrobe stands to its left, and a desk and chair occupy the adjoining wall. A bench and a black rug are at the foot of the bed. The light floor is visible around these objects and at the front of the room. A useful question for this comparison is how a different floor tone would work with the existing wooden fronts, bedding and patterned walls.
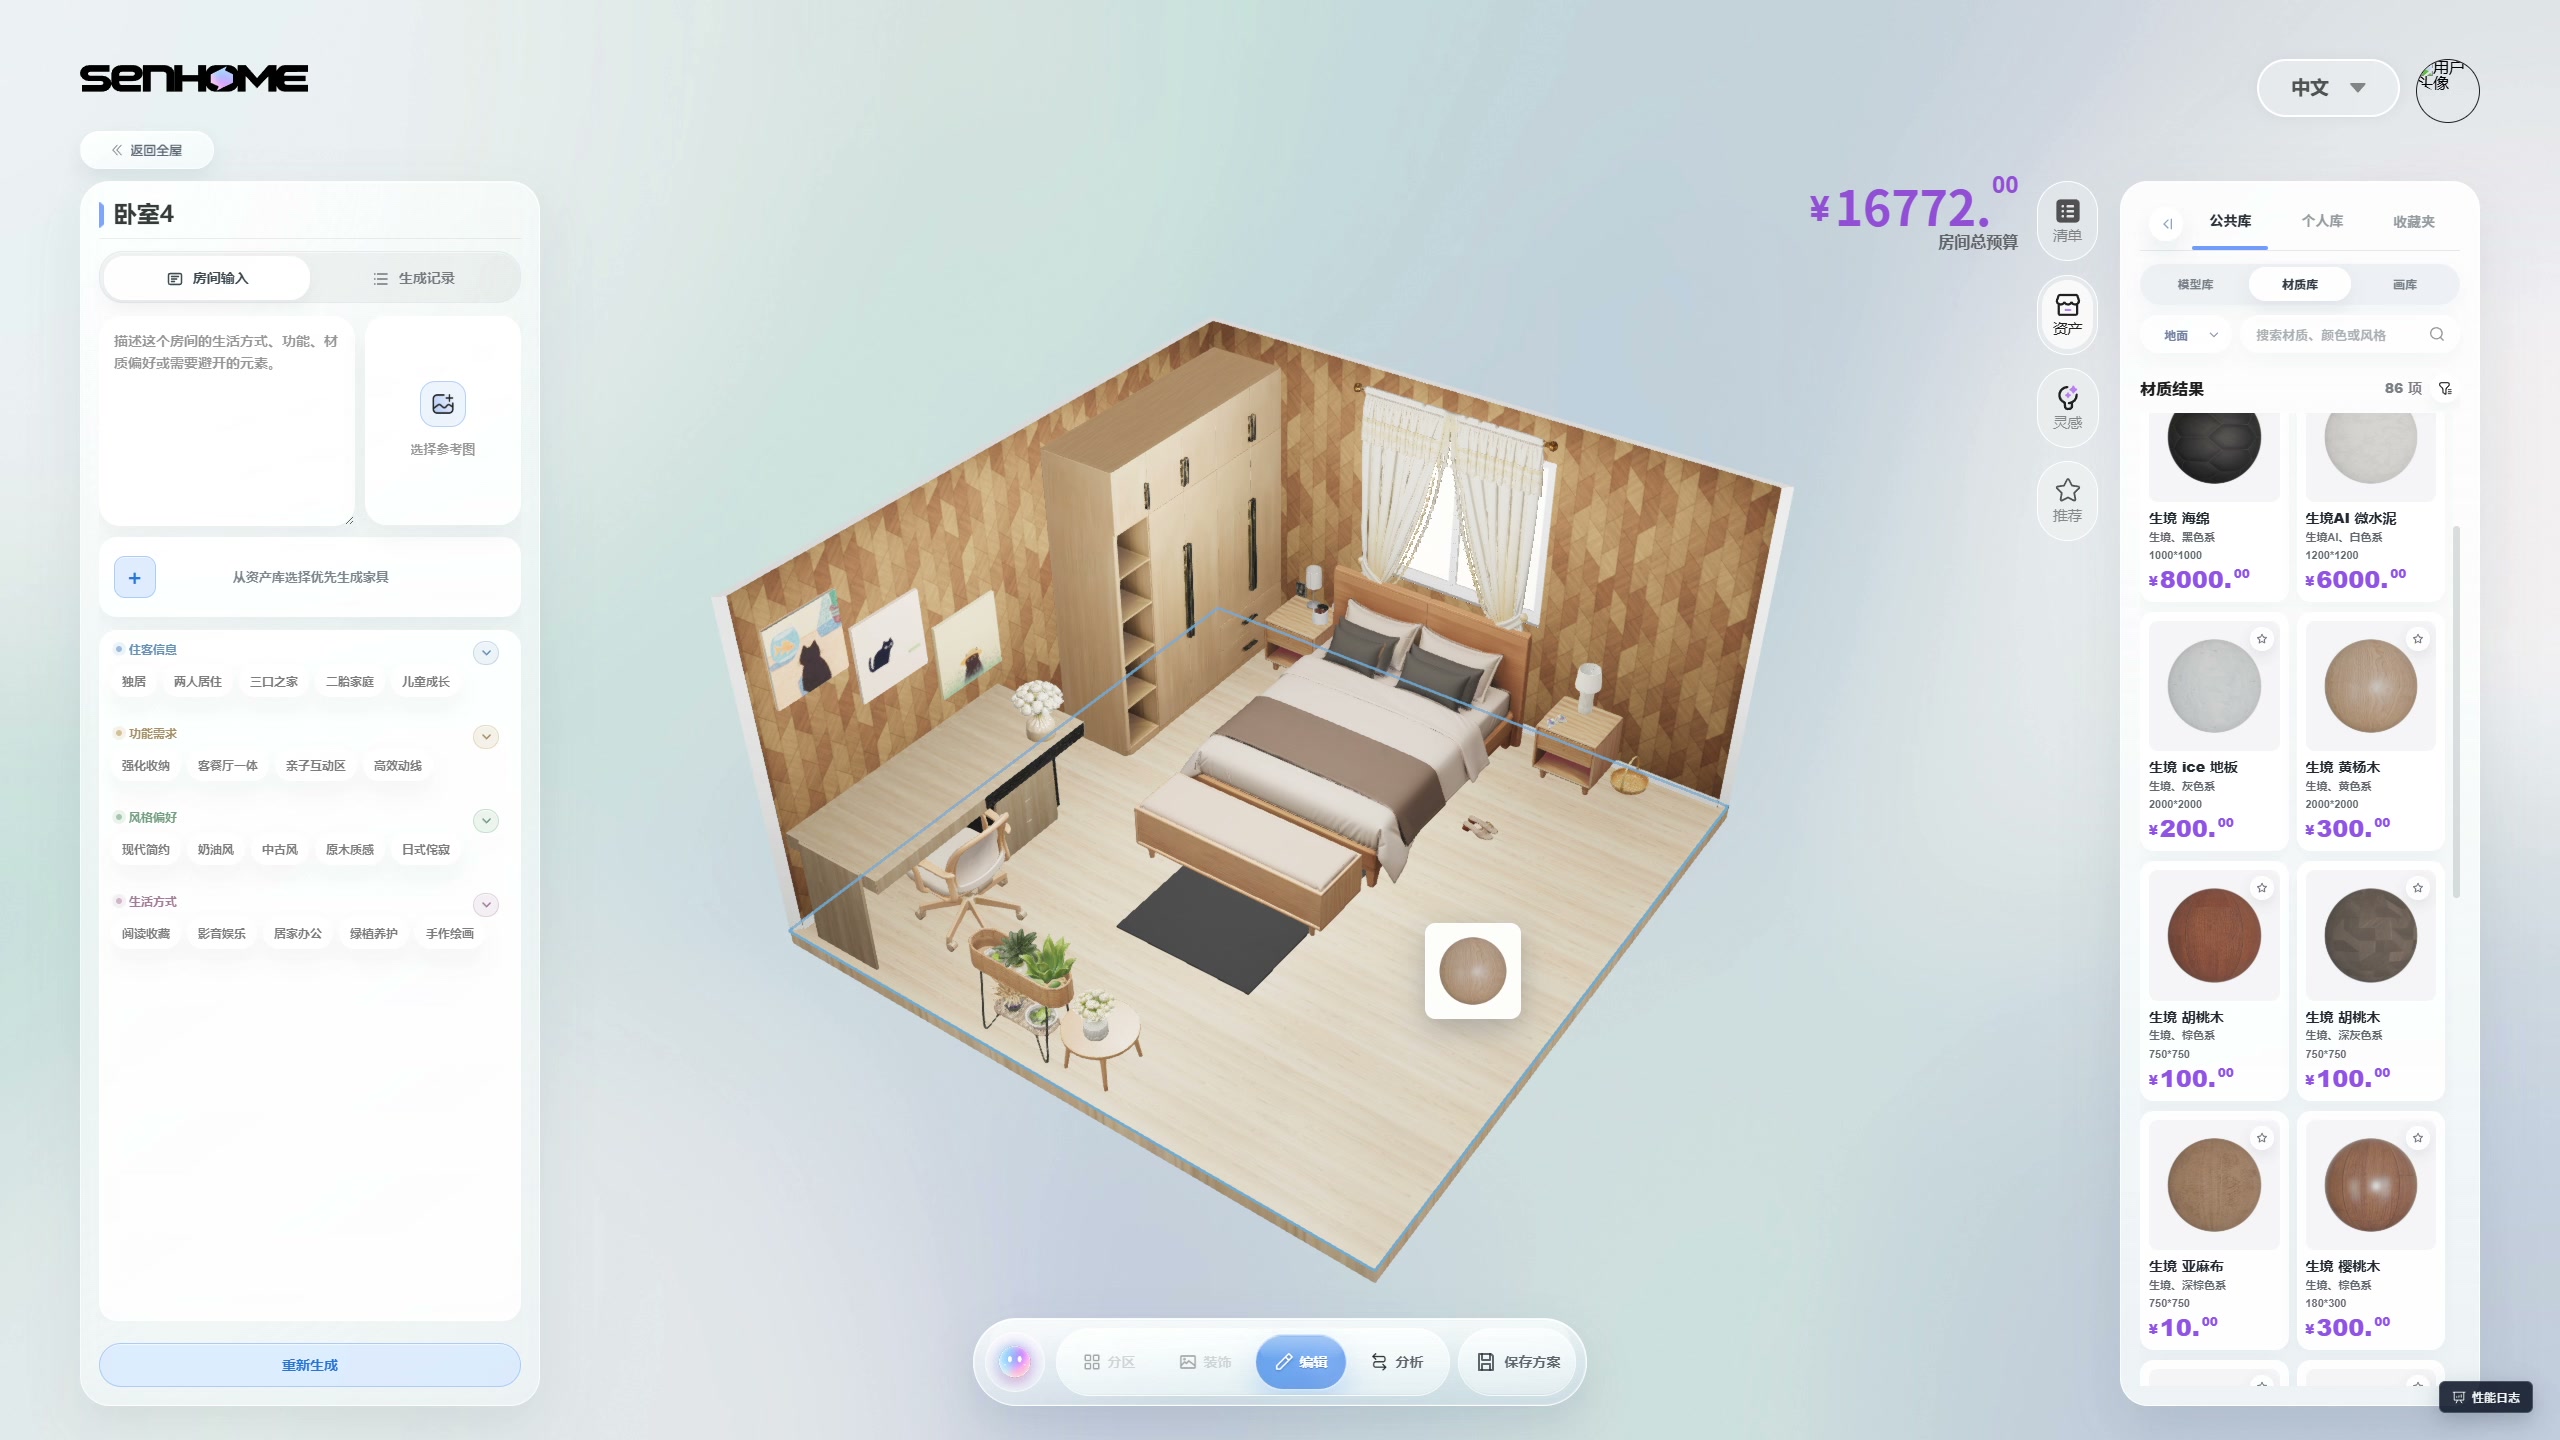
Selecting the surface and a wood sample
The right-hand panel opens a material library with a floor category. The available options appear as round samples. A blue outline appears in the workspace, highlighting the floor surface around the furniture. The next recorded moment shows a wood sample above the selected surface. This makes it possible to follow which part of the room is being edited while the bed, wardrobe and wall images remain visible.
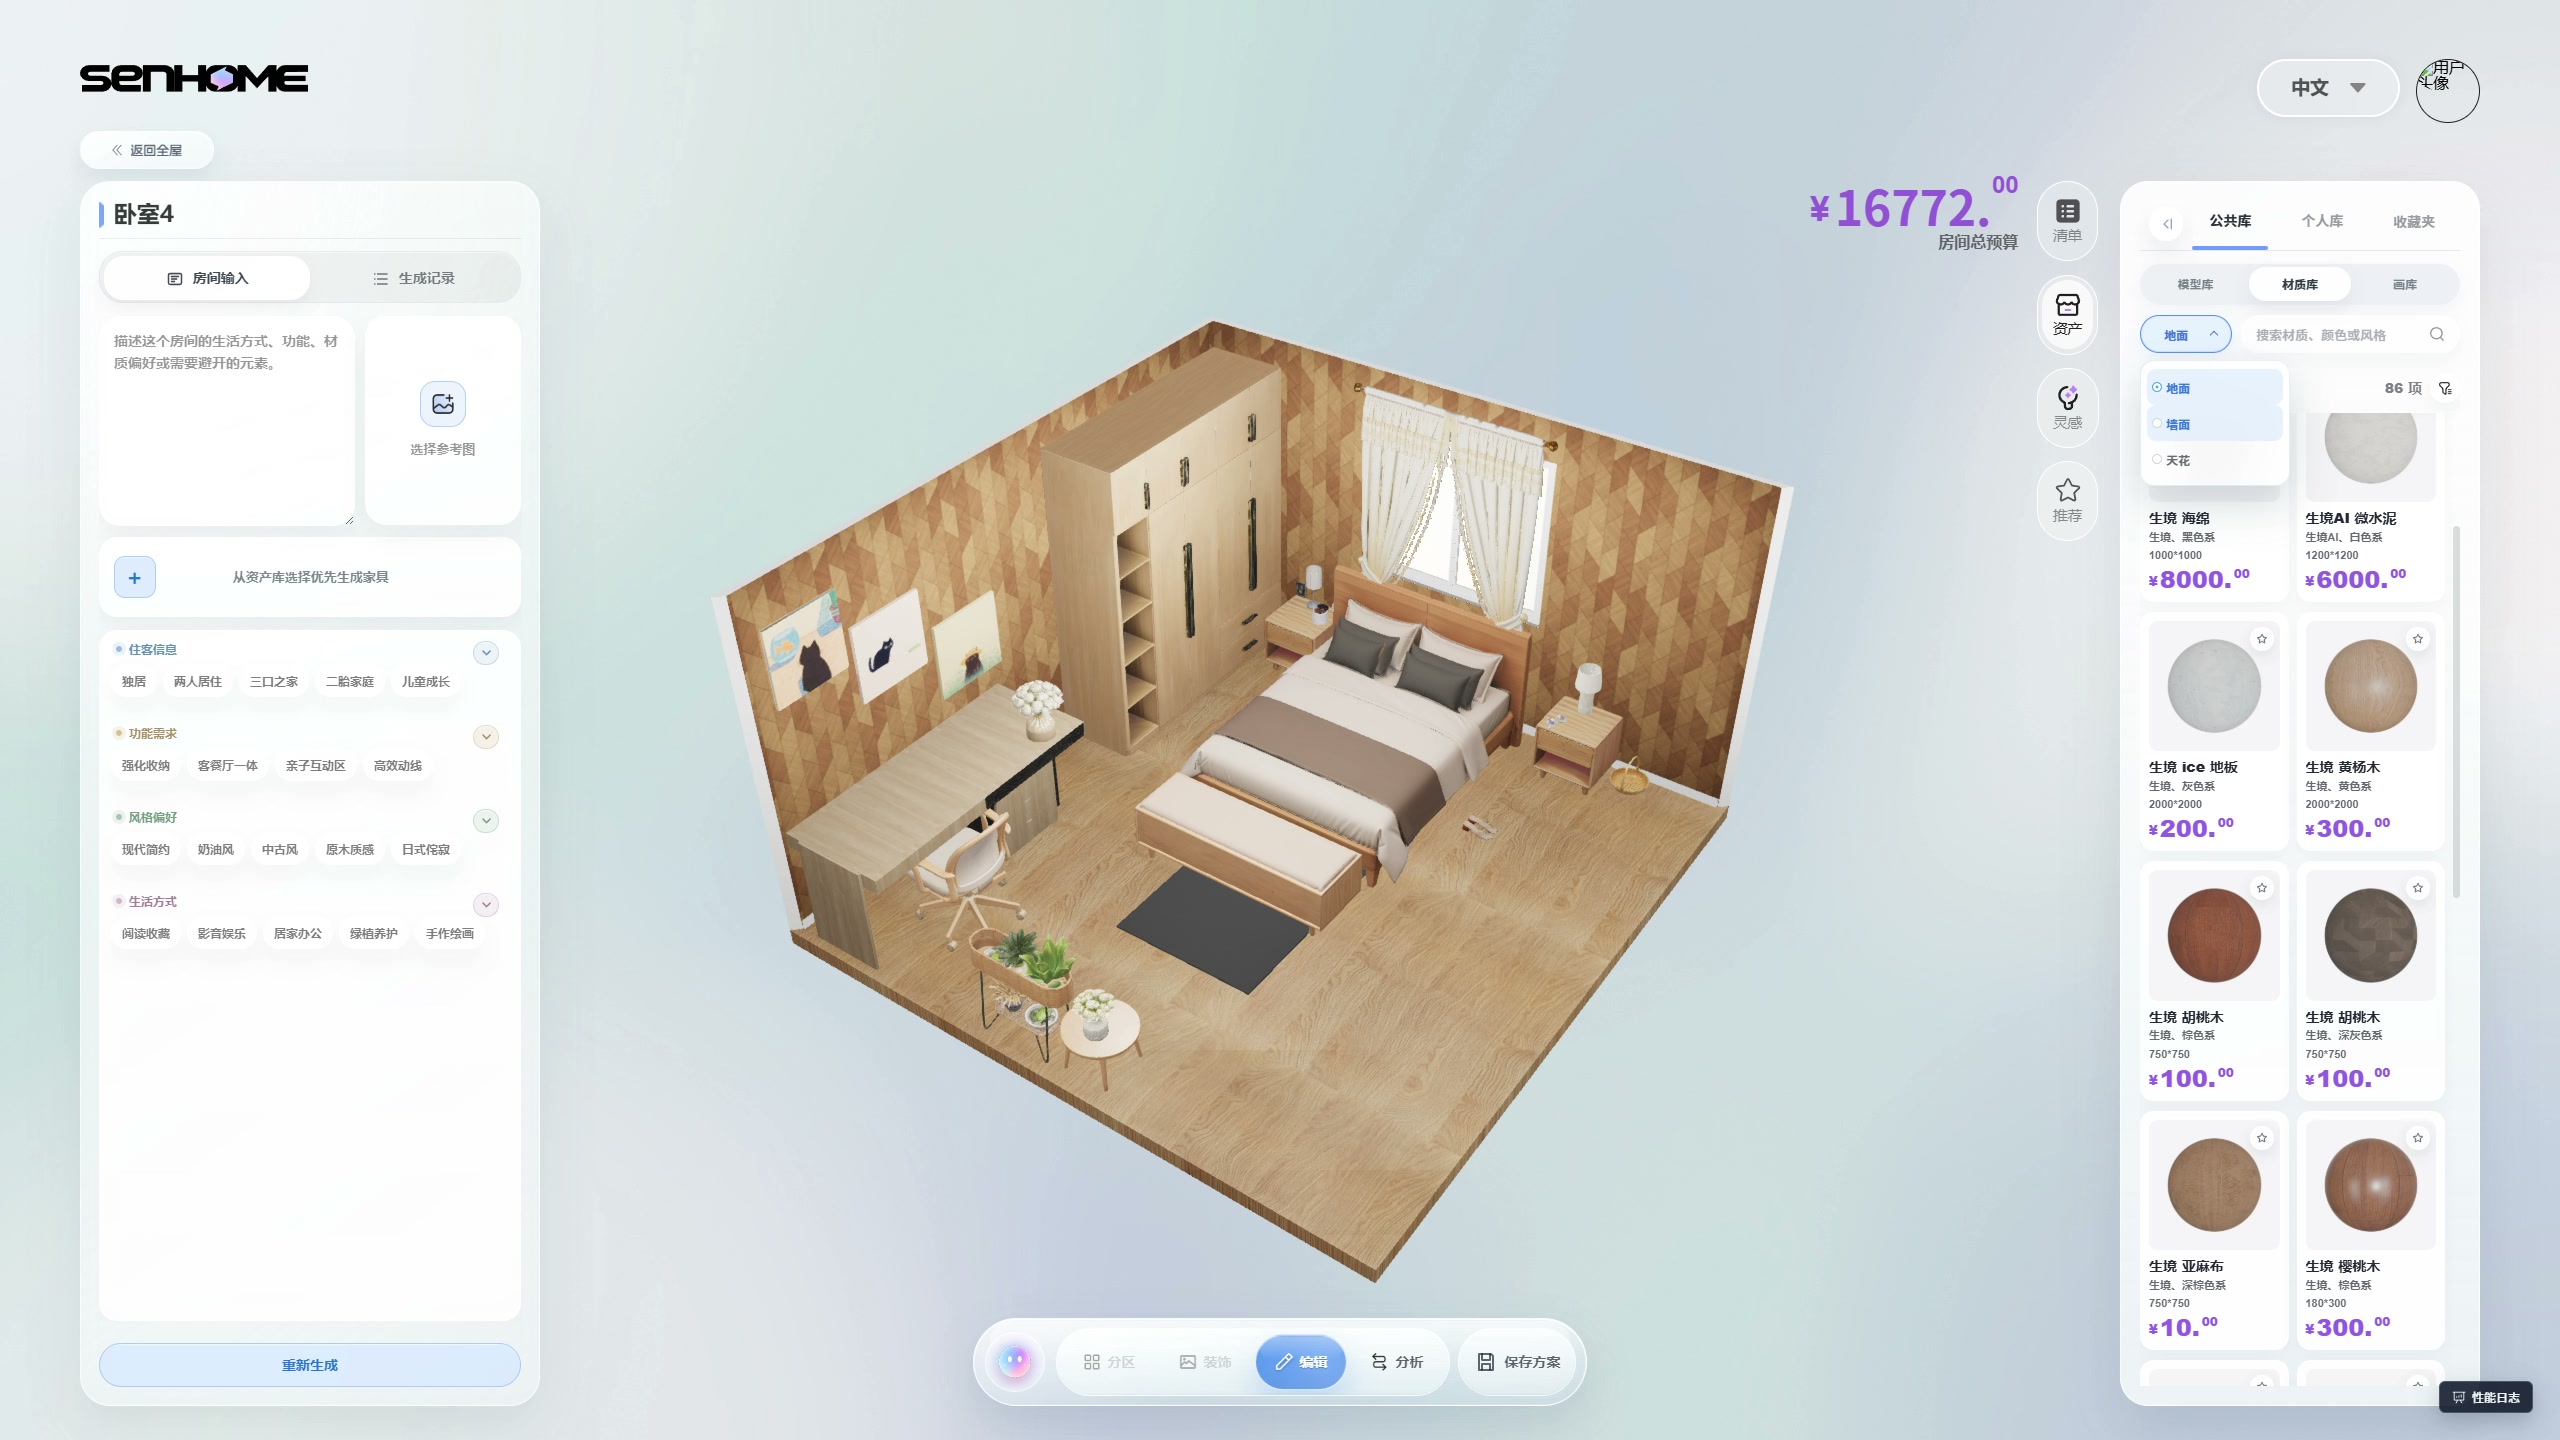
A darker floor in the same surroundings
After the sample is applied, the floor takes on a richer wood tone with a visible grain pattern. The change is clear in the open area in front of the bed and beside the desk. The camera and main objects stay in the same positions in the selected frames, allowing the comparison to use consistent reference points. The black rug, bench edge and light desktop help show how the new background interacts with the details already chosen.
What to check when choosing a material for your room
Compare the original and changed versions, paying attention to how the floor works with the larger furniture. Note where furniture edges are easier to distinguish and which background you prefer beside the textiles. For your own space, prepare physical samples and examine them by the window and deeper inside the room under your lighting. Confirm the selected flooring’s specifications and installation requirements with the supplier. The recording shows a finish change in a model; choosing actual flooring requires an on-site check. Keep photos of the floor and furniture fronts nearby to compare samples in the same light. Record the chosen shade and questions about texture before ordering.
Explore the product workspace on the SenHOME Web page. A separate wall-finish example shows another stage of surface editing in the same bedroom. When comparing your own options, retain the original furniture arrangement to see the contribution of the selected material.