How does the same bedroom look when its bold geometric wall pattern is replaced with a light finish? In the SenHOME recording, the wall with the window behind the bed changes first, followed by the wall beside the desk. The bed, desk, wardrobe and wooden floor stay in place. The interior design software shows the sequence within a single 3D scene, allowing the walls to be compared with the furniture already in the room.
The starting bedroom and material library
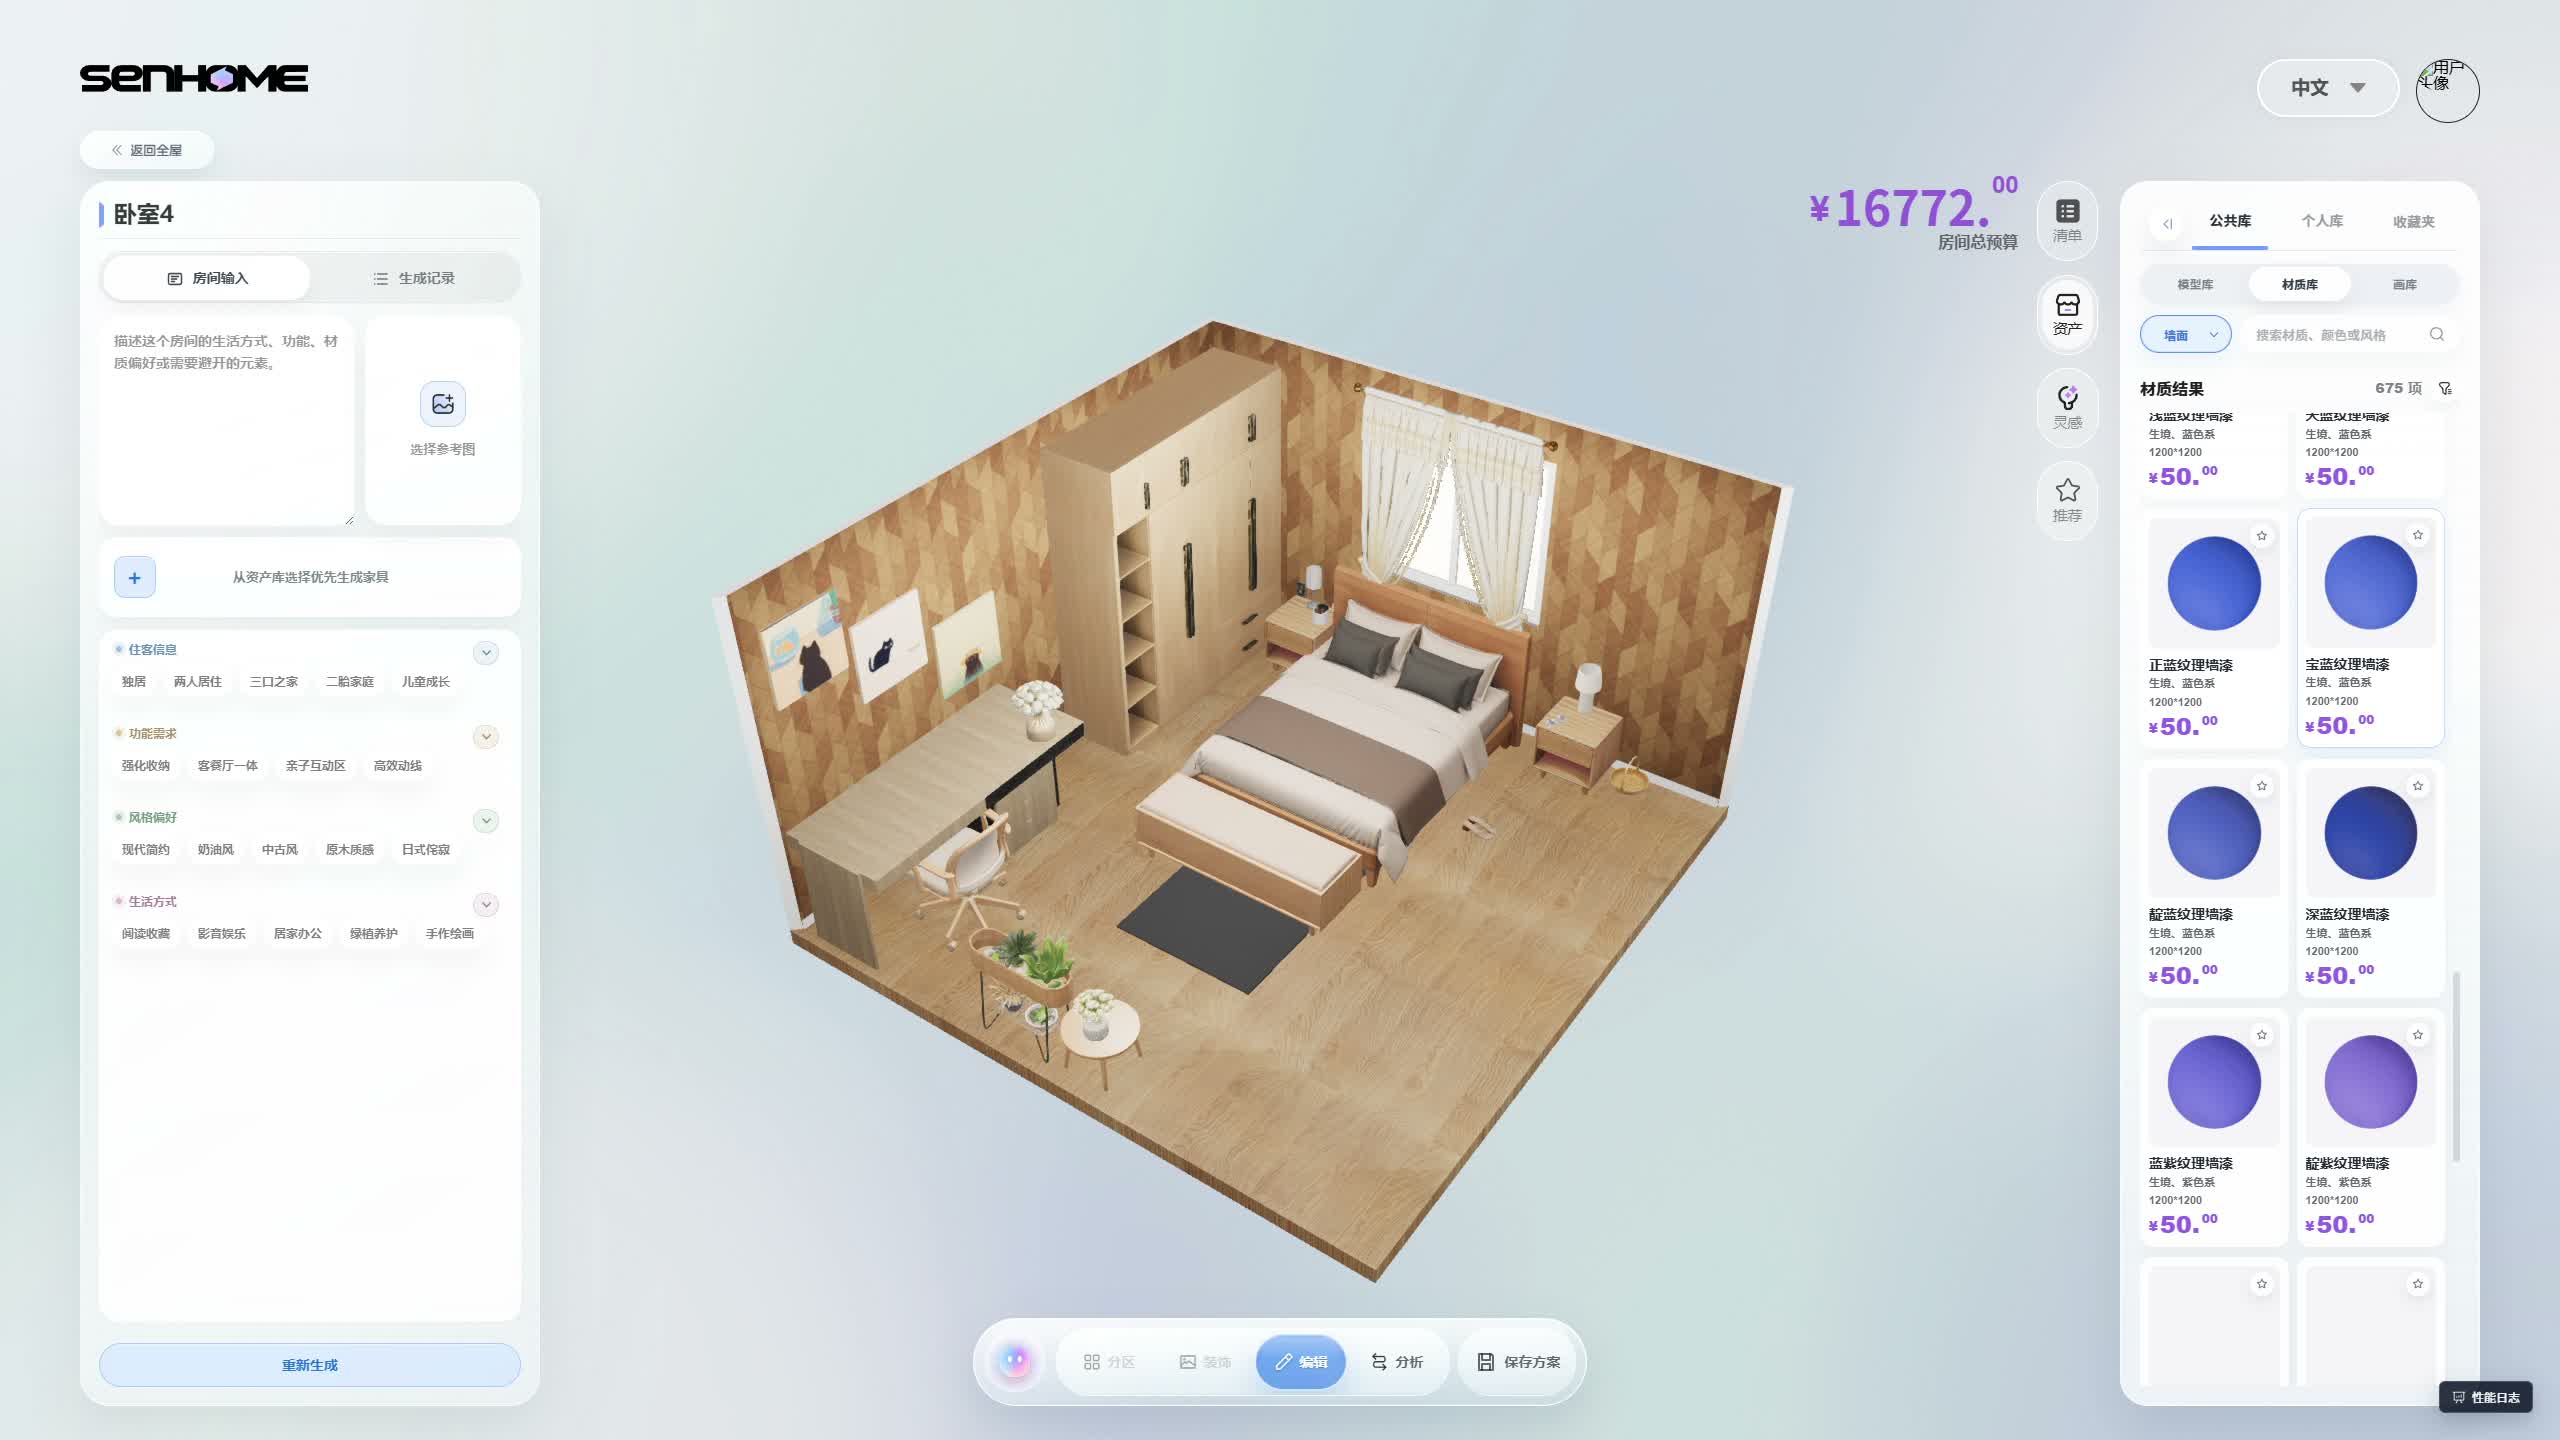
At the start of the selected sequence, the geometric pattern covers both visible walls. Three pictures hang above the desk on the left wall. The wardrobe and bed stand against the far wall, with light curtains at the window. The warm wood tones of the furniture work with the wall pattern, but there are many visual details around both the desk and window.
The material section on the right is open to the wall category. This recording uses the Chinese interface. Materials appear as round samples, so the library and room remain visible together. This demonstration compares finishes while keeping furniture positions and the camera angle unchanged throughout the selected sequence.
The window wall becomes light first
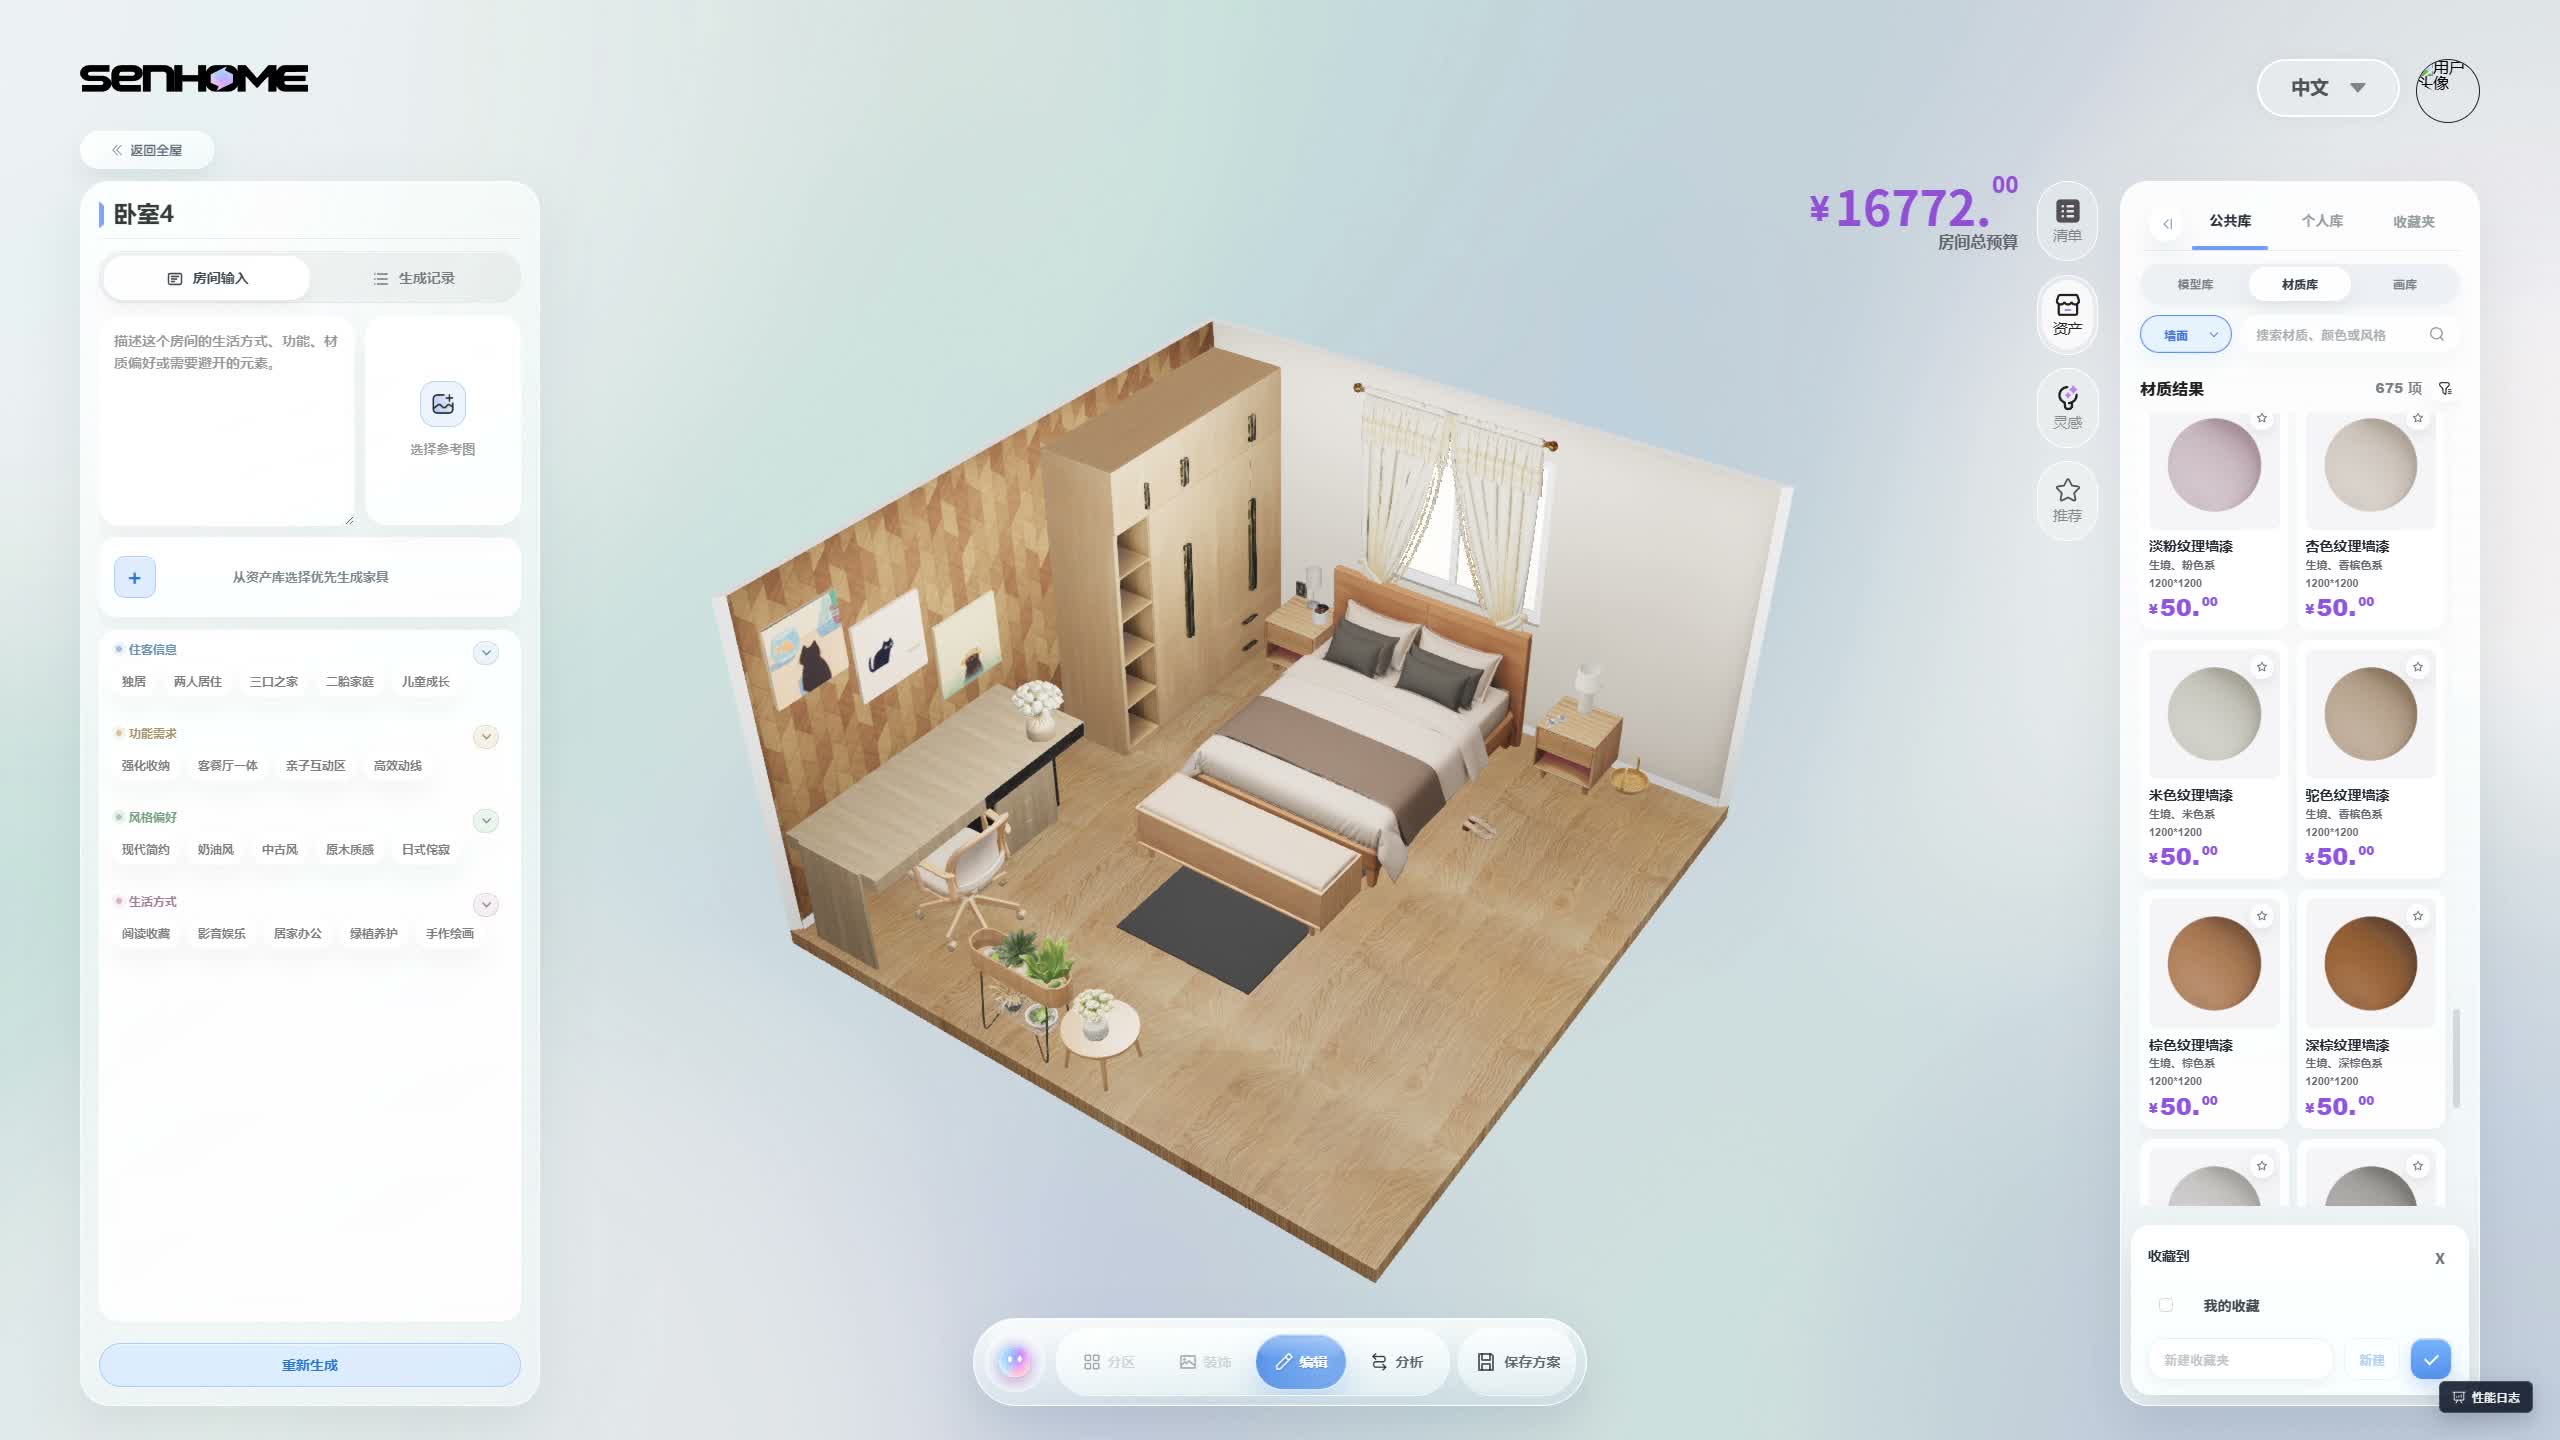
In the next stage, the wall behind the bed becomes light. Curtains, window, headboard and bedside units keep their positions. The geometric pattern remains on the left, making it easy to see how a plain surface beside it changes the room’s appearance. The wardrobe edge, window frame and headboard provide references for the comparison.
The wall beside the desk changes next
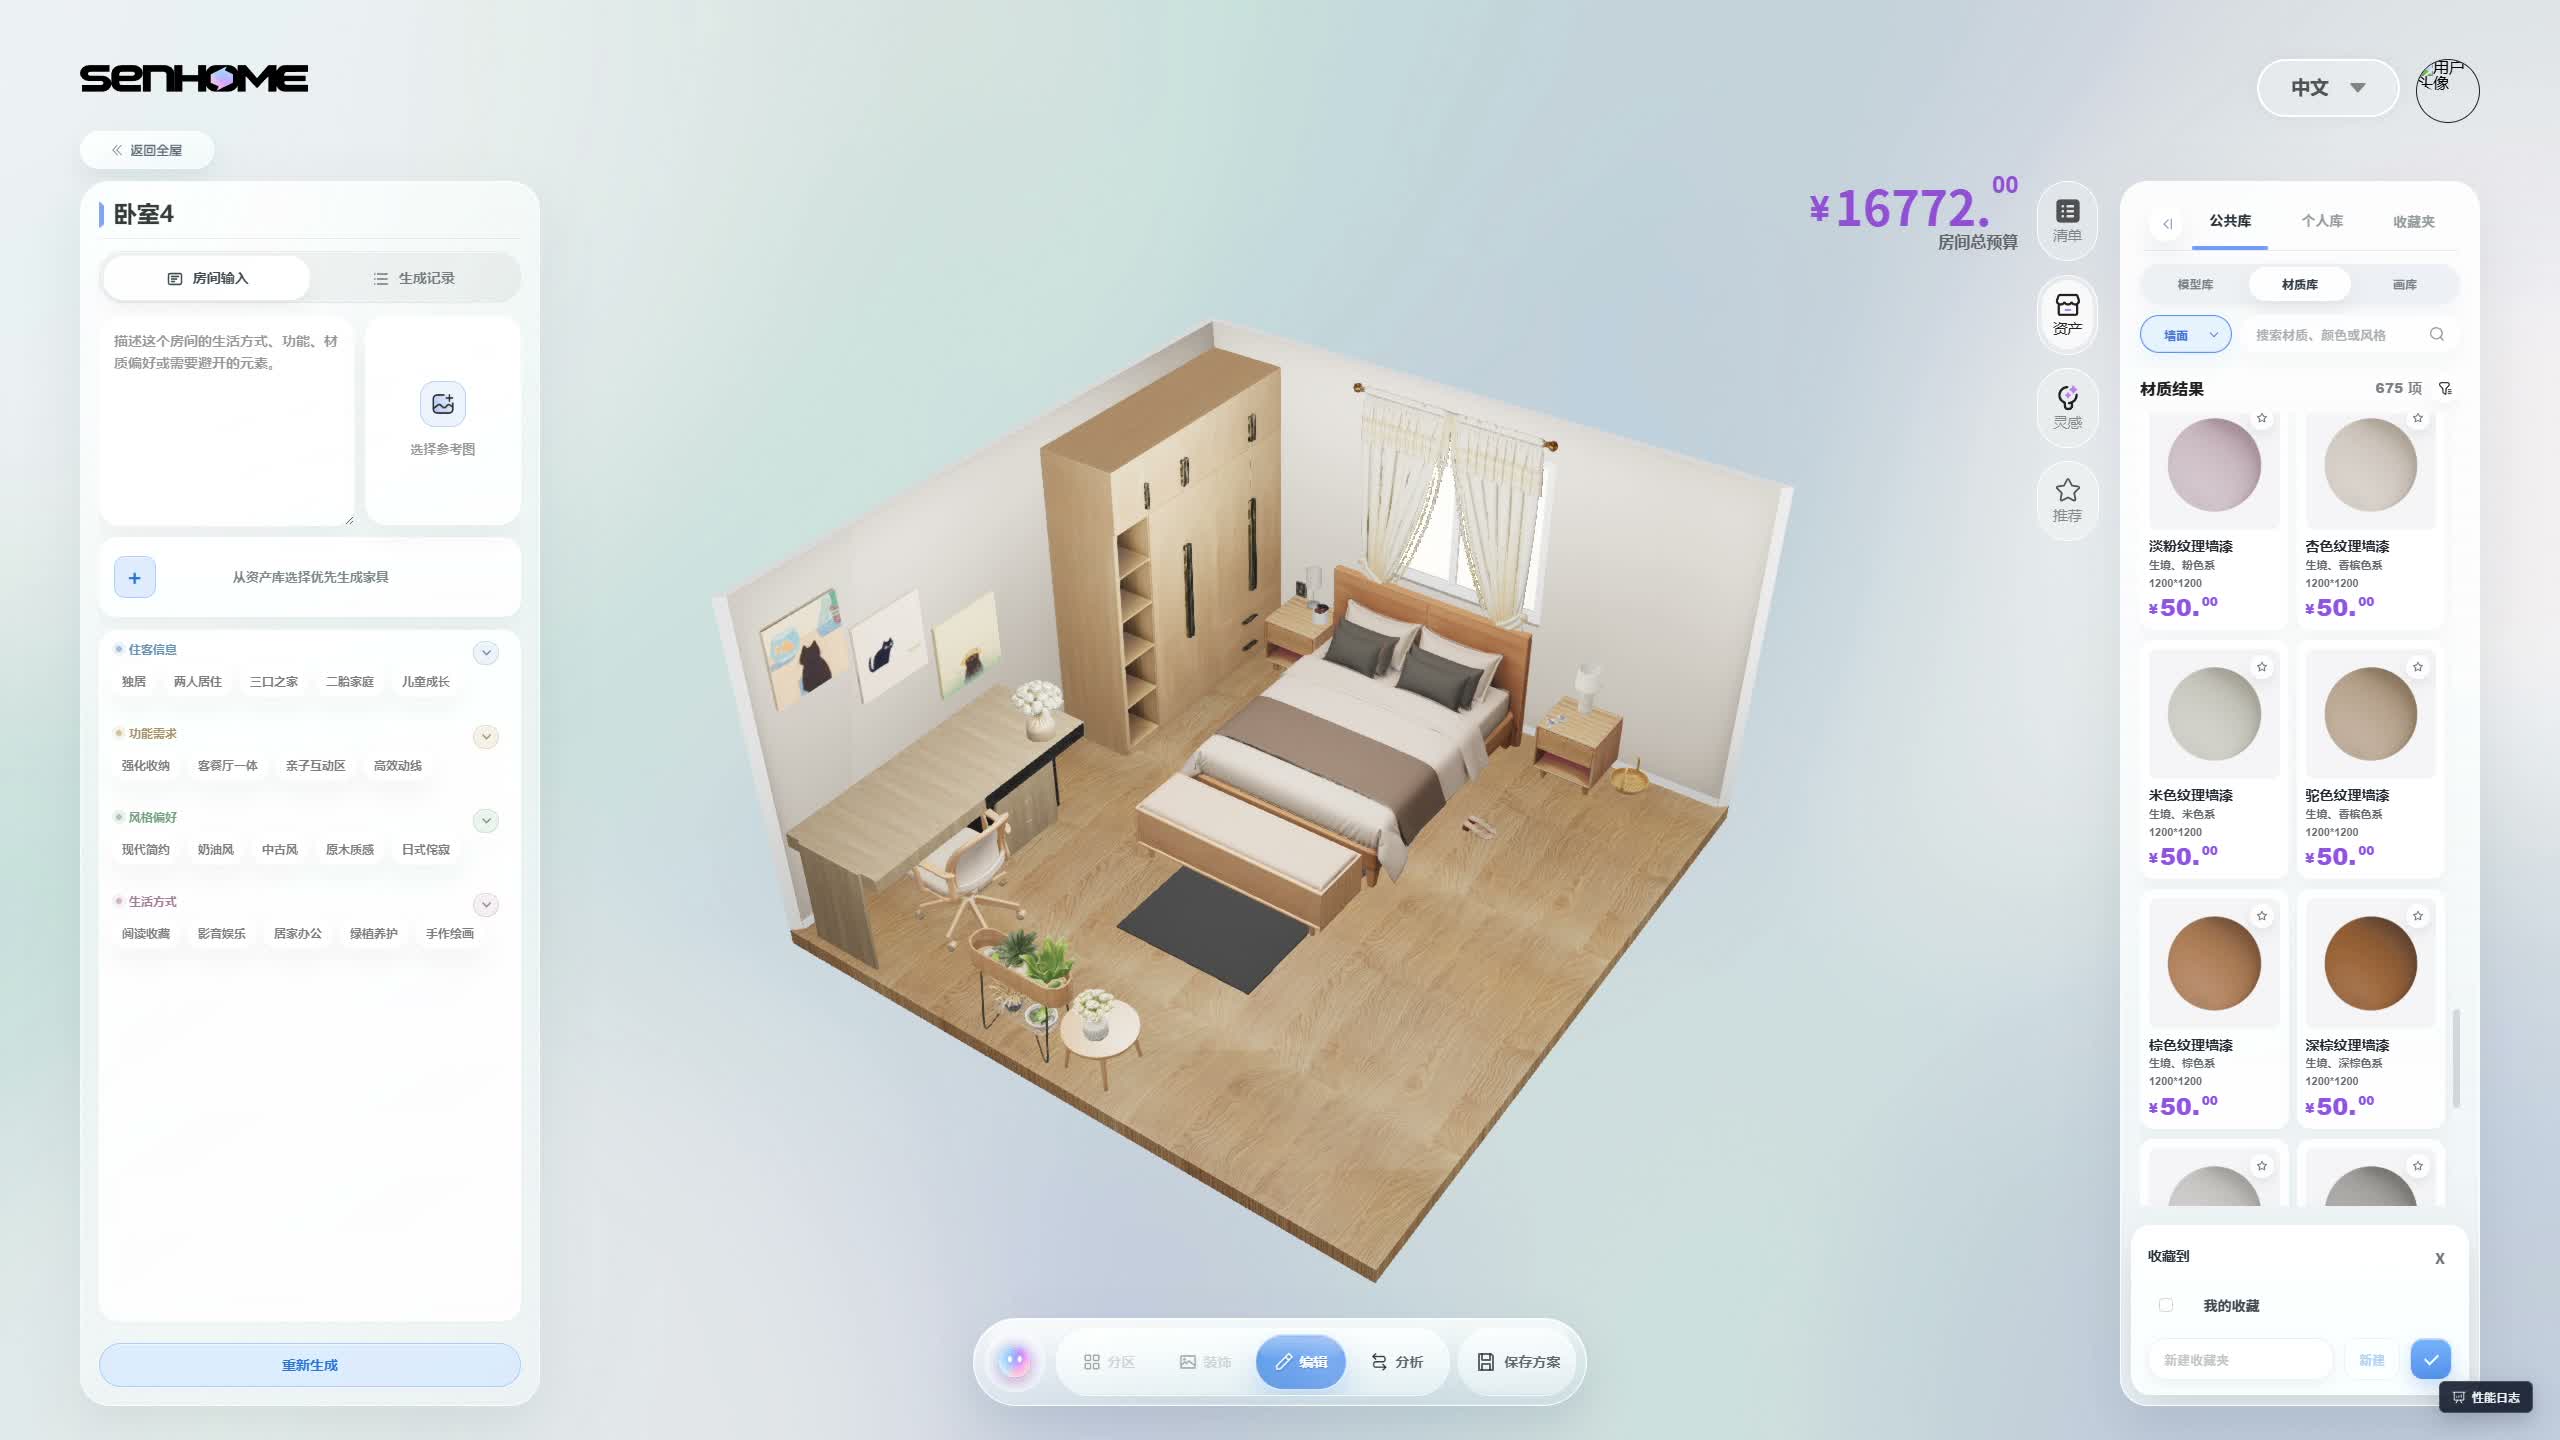
At the end of the sequence, the left wall becomes light too. The three pictures remain, now against a calmer background. The desk outline, chair back and wooden surfaces are easy to distinguish. Keeping the same angle helps show which differences come from the wall finishes, as the objects remain in place during this comparison.
What to check before choosing a real wall finish
For your own room, compare the original, one changed wall and both changed surfaces. Note which background works best with your furniture and pictures. Then hold physical samples by the window and work area, and inspect them in daylight and evening light. For the desk wall, include the pictures you will keep. Put a sample beside a frame and check whether you retain the contrast you want. On the window wall, compare it with the curtain fabric. These frames show a digital finish preview in the model.
SenHOME Web introduces the product workspace. To compare options consistently, use the guide to previewing room changes. Keep the original furniture arrangement, change one element and note what needs checking on site.