Quick answer
Start with one room, paper, a pencil and a ruler. First draw a top view with the door, window and main pieces of furniture. Then make a small perspective sketch from a single viewpoint. Clear shapes, material notes and a marked walking route are enough for a first sketch. Practise showing where objects sit, then add details after checking proportions.
1. Measure the room and draw its outline from above
Measure the wall lengths and the positions of openings. Choose a simple scale, such as one centimetre on paper for half a metre in the room, and label it. Draw the outer outline, then the door with its opening direction and the window. Mark any uneven wall or projection straight away. This plan provides a basis for positioning the furniture.
2. Place furniture using simple shapes
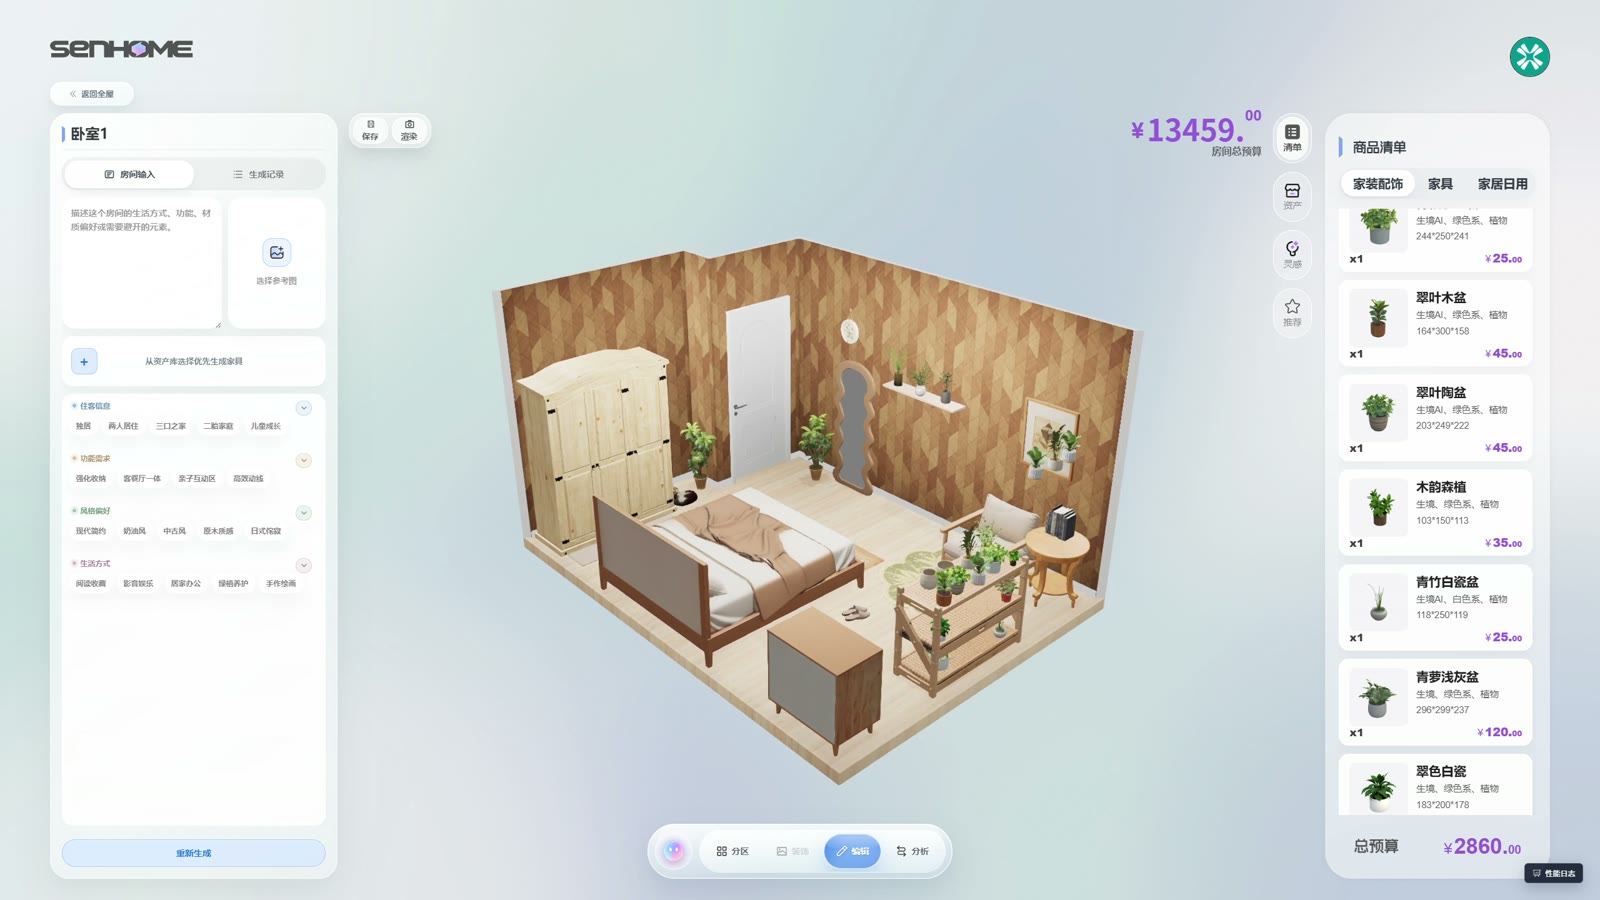
Measure the bed, wardrobe and desk and add them to the plan at the same scale. Use rectangles, and a circle for a round table. Mark the space for pulling out the chair and opening the wardrobe. On SenHOME Web, you can look at a 3D room example and practise recognising the same objects from another side. Label the entrance and the route you need on your own plan.
3. Draw the room from one viewpoint
Sit near the entrance and look straight towards the far wall. Sketch that wall as a rectangle, draw an eye-level horizon and place a vanishing point on it. Draw lines from the far wall’s corners to the vanishing point and extend them towards the edges of the sheet. Use the lines to define the floor, ceiling and side walls. Add the bed and wardrobe as simple volumes, checking their heights against the door.
4. Add the style and check proportions
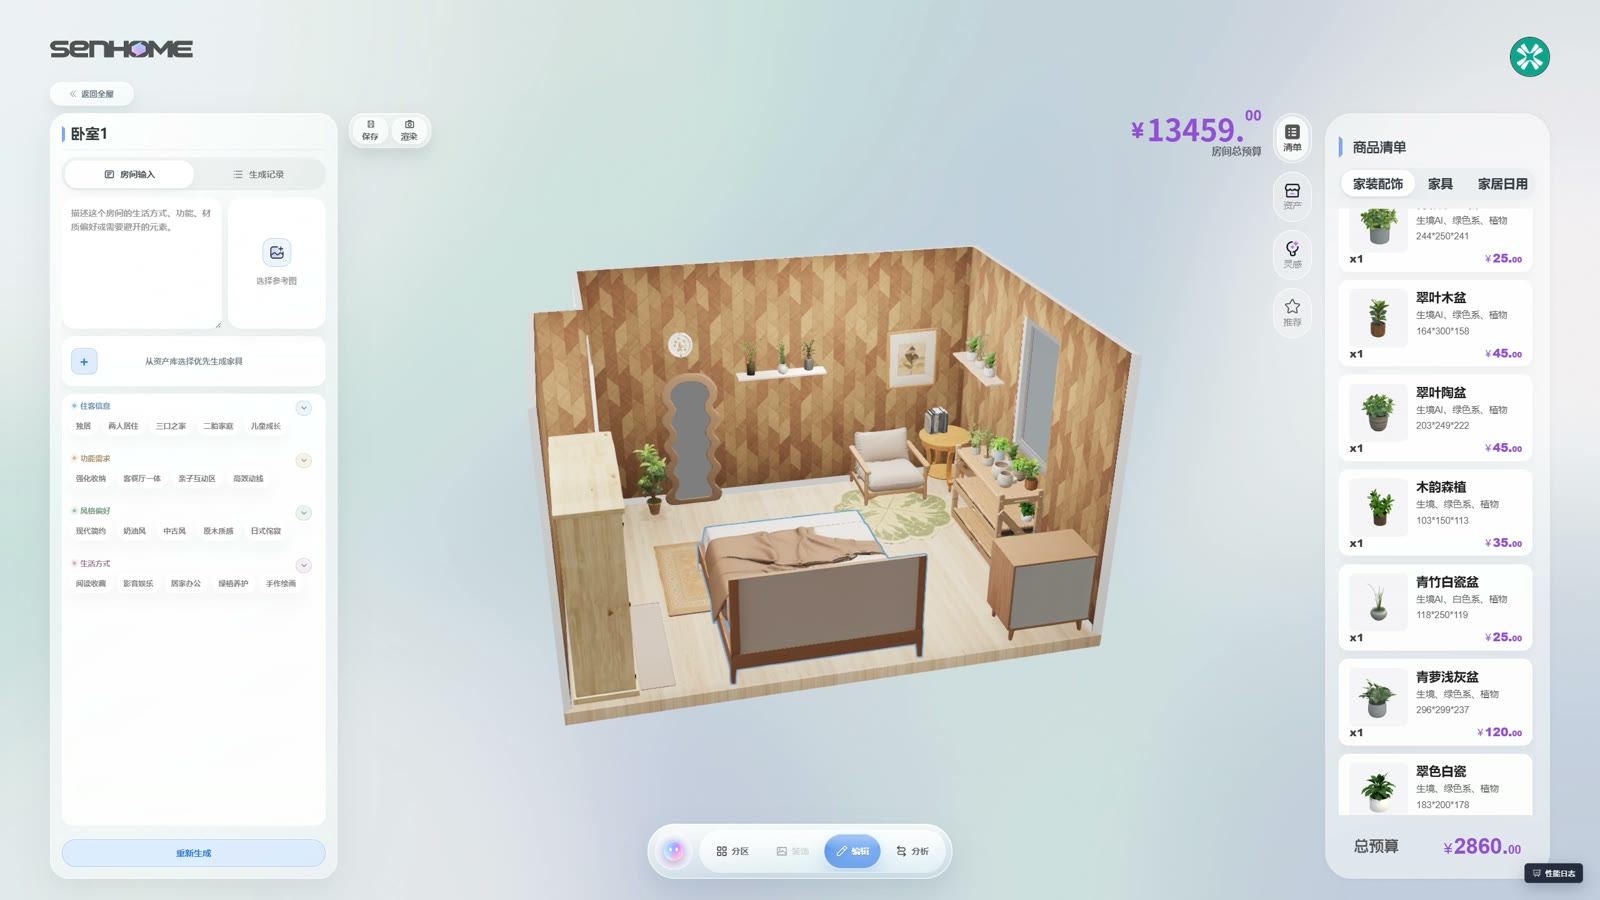
Choose a few materials and label the relevant surfaces. Lightly shade dark areas while keeping the outlines visible. Compare furniture widths with the passage on the plan, and heights with the door in the sketch. Walk the route in the room and confirm uncertain measurements. Leave a short note beside the drawing about what you want to keep and which object obstructs movement. Refer to that note when drawing the next version to check whether you solved the original problem. If you find it hard to choose a combination, gather references using the interior moodboard guide. Repeat the sketch with one change to see what has become clearer.