Quick answer
To organize a studio kitchen, start with the equipment already in place and your usual meal preparation. Keep a surface for setting things down and preparing food, then group items you use together nearby. Decide where each small appliance goes after use. Test a complete preparation sequence, putting dishes away and returning the worktop to its starting state.
1. Record equipment and the available surface
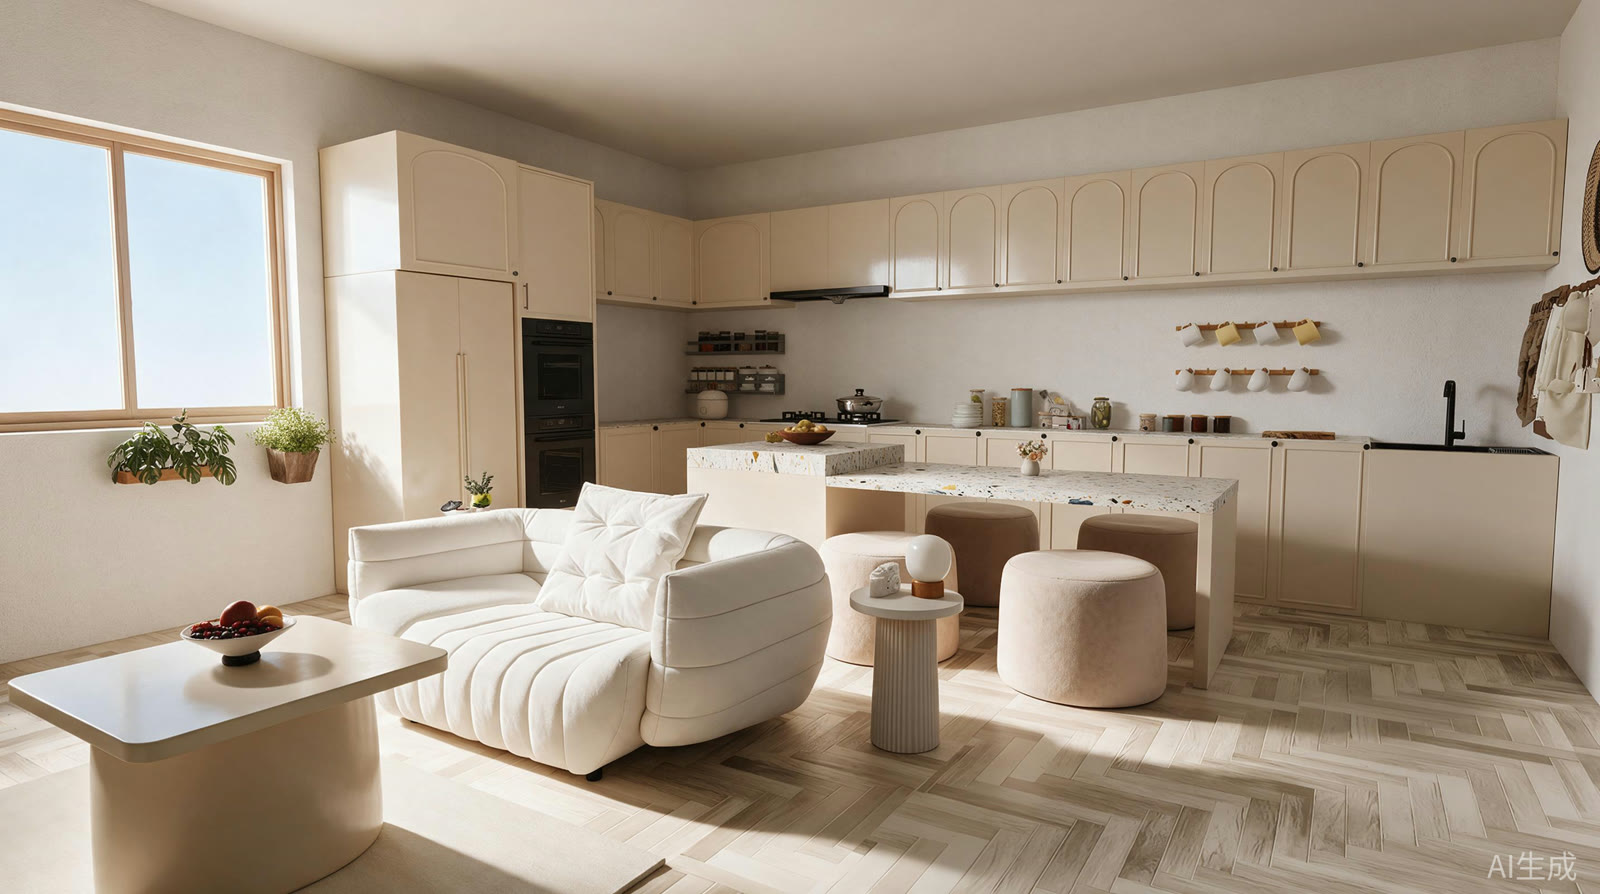
Draw the sink, hob, refrigerator and sockets you already use. Measure the clear portions of worktop, allowing for objects that must stay on it. Note how doors and drawers move. In SenHOME Web, examine your room’s volumes. The images are demonstration kitchens used to read the relationships between furniture and surfaces.
2. Reserve space for your actual preparation
Set out the board, bowl and utensils needed for an ordinary meal. Look at where ingredients arrive and where you put used dishes. Temporarily move decorative objects to see how much surface you regain. Check each appliance’s operating instructions for its position. Choose a storage place for objects taking up the space you need.
3. Store things around actions and frequency
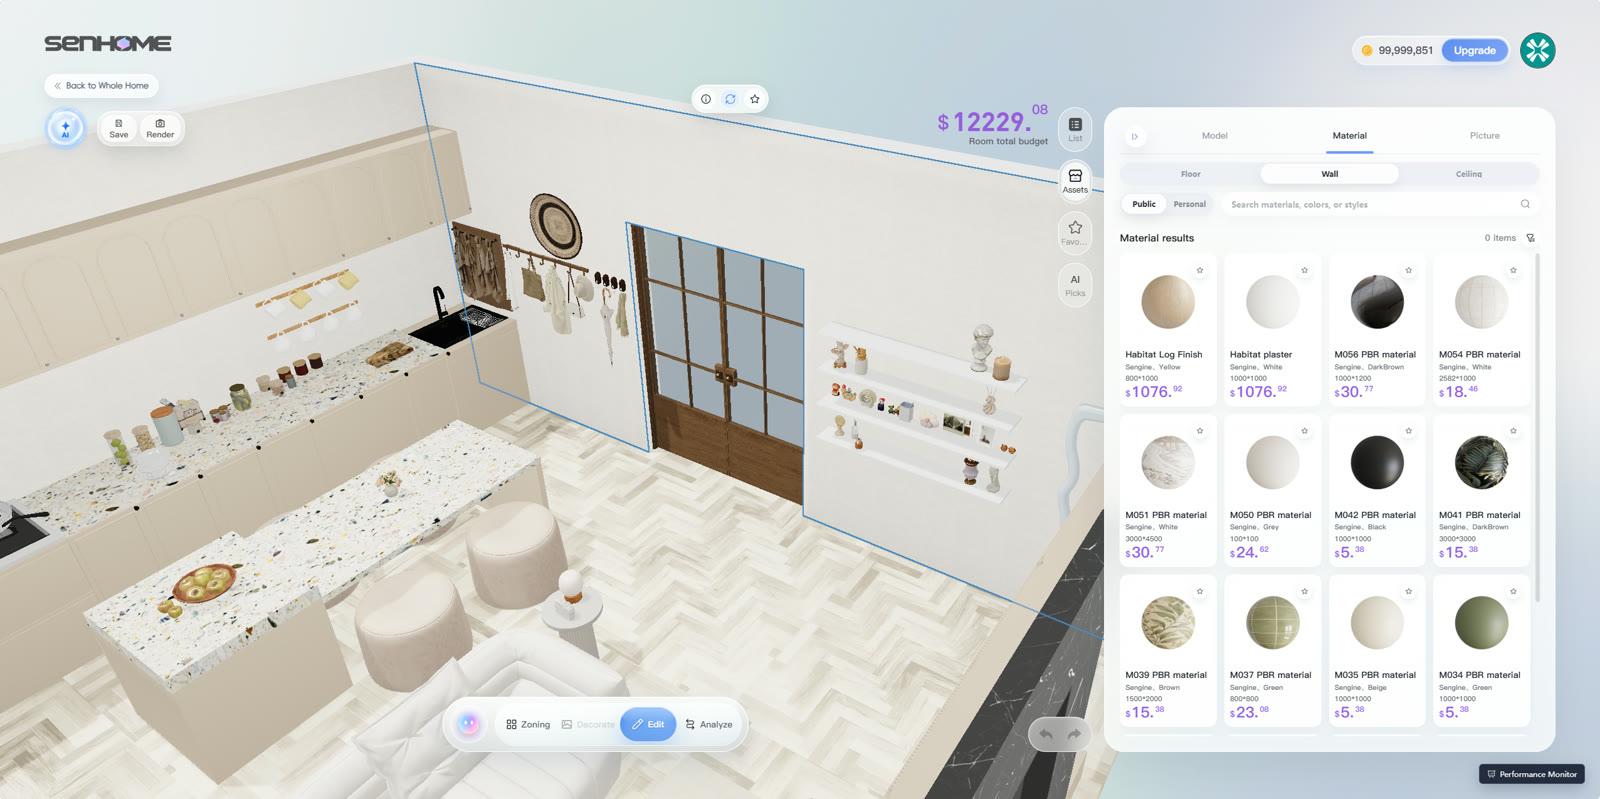
Group utensils you use together and test reaching them from the preparation area. Put occasional items somewhere you can reach when needed. Open drawers with someone in your usual position and check the nearby passage. The other kitchen view is a general editor example that helps show furniture depth and neighbouring pieces.
4. Repeat the end-of-use reset
Simulate preparation, using small appliances, then putting away dishes and utensils. Return every item and see what remains on the worktop. Adjust places that require moving several things. Repeat until you regain a usable surface for the next meal. The guide to presenting a project to the people you live with helps you discuss this organization when several people use the kitchenette.