Quick answer
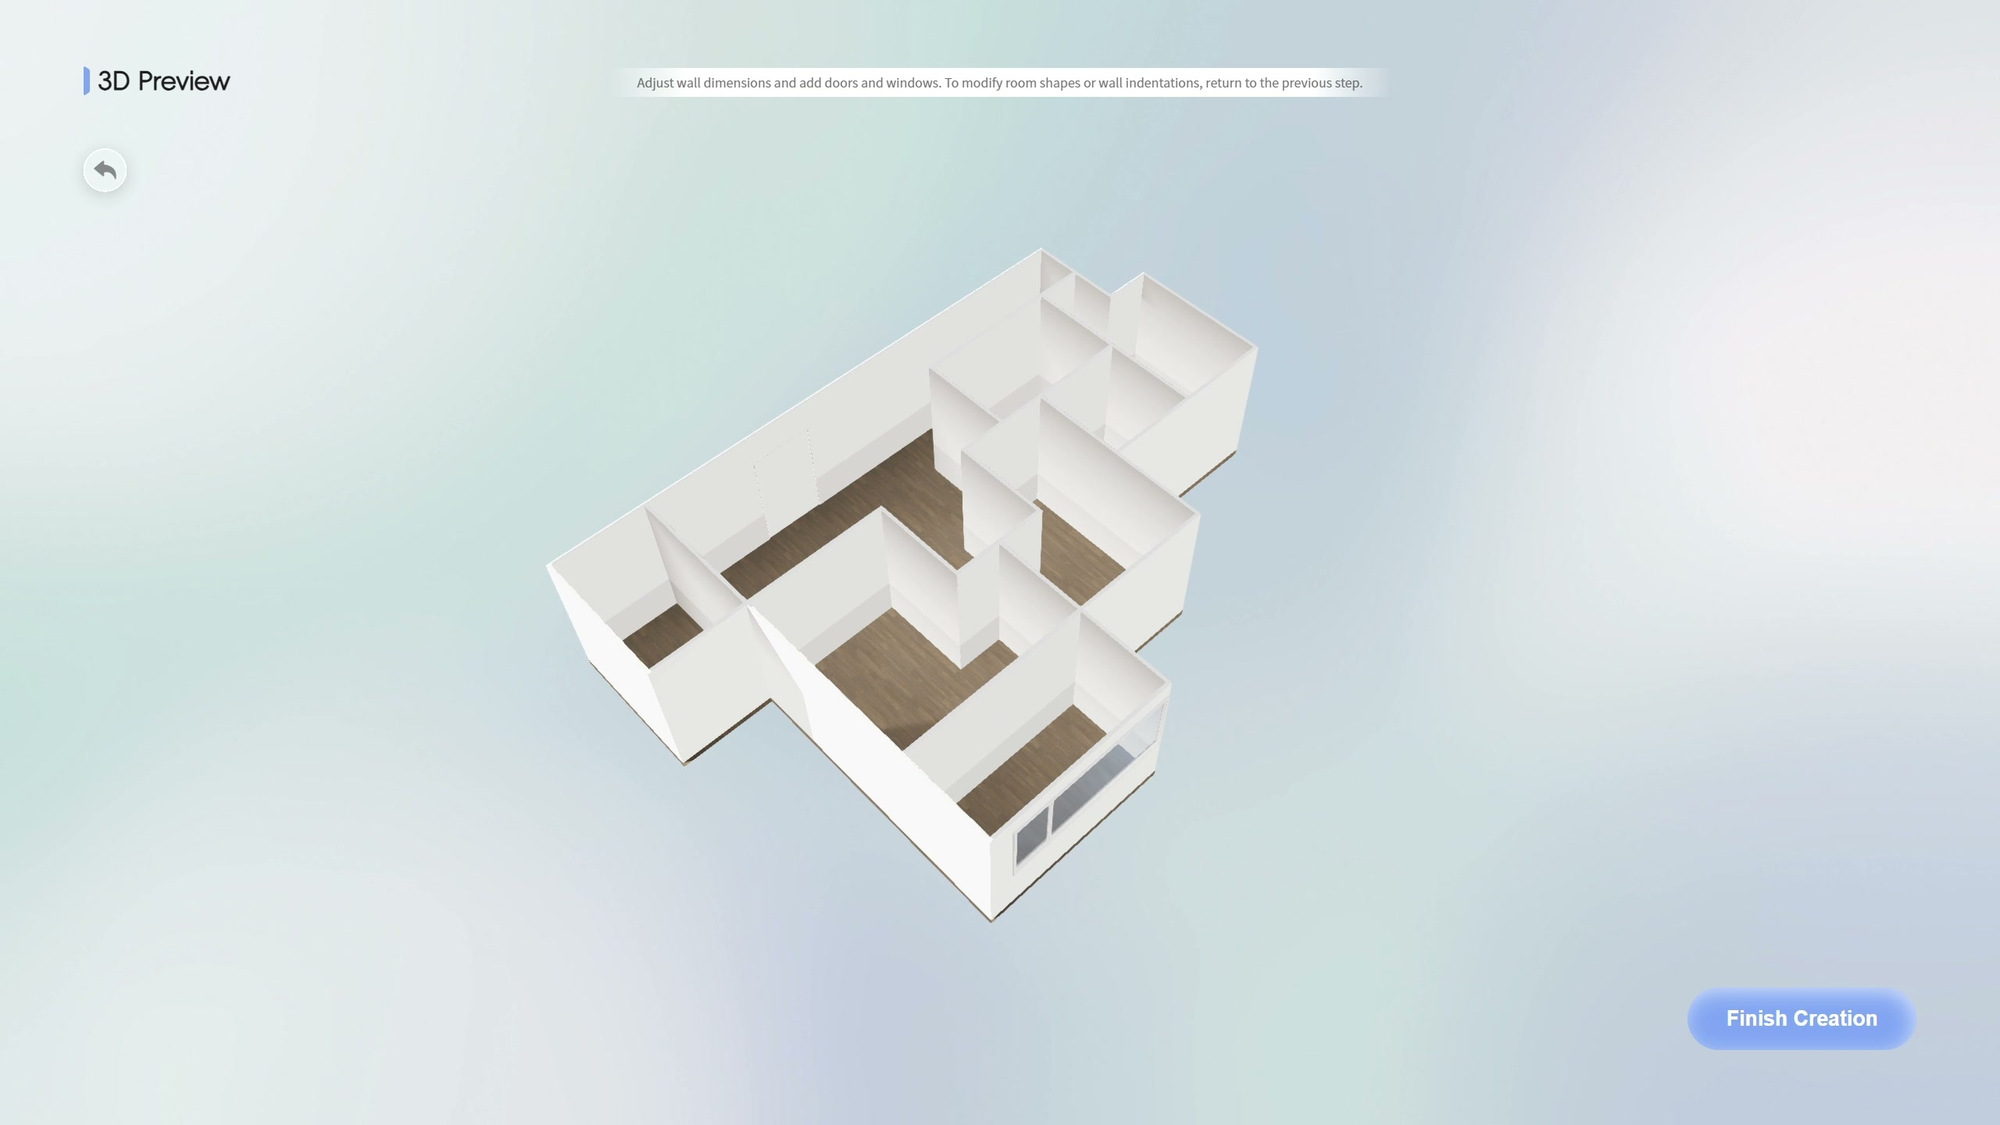
When you have no floor plan, draw the room’s outline on paper and measure every wall from inside the room. Mark where doors and windows start and end, plus anything fixed that takes up space. Check that the smaller measurements along a wall add up to its full length. Then redraw the outline in SenHOME Web and compare the 2D plan and empty 3D preview with the room.
1. Draw the outline and measure each wall
Use graph paper or a blank sheet, a tape measure and a pencil. Start at one inside corner and work clockwise. Draw each turn, including recesses and projections. Measure between finished wall faces, keeping the tape straight and level. Add the width and depth of any alcove and the footprint of a column, radiator or built-in cabinet. Use one unit throughout.
If a room looks rectangular, measure both long walls and both short walls. Keep the separate measurements if they differ. For an L-shaped room, record both legs and the smaller wall segments around the turn. Remeasure any gap that prevents the last segment from meeting your starting point.
2. Mark openings from a corner you can find again
For each door or window, write which wall it is on. Measure from an inside corner to the near edge of the opening, then measure the opening itself and the remaining distance to the next corner. Mark which way the door opens and measure the height of a window sill if furniture will sit below it.
For example, along a 340 cm wall, a door opening can start 68 cm from the left corner, span 82 cm and leave 190 cm to the right corner. Those three measurements add to 340 cm. If your numbers disagree with the full wall length, check that you used the same corners and measured to the same edges of the opening.
3. Draw your measured outline in the design workspace
Open SenHOME Web and use the drawing option for a new plan. Start with a blank layout and draw the outline from your measurements. Add adjoining rooms after you have checked the first one, using your measured offsets where they connect.
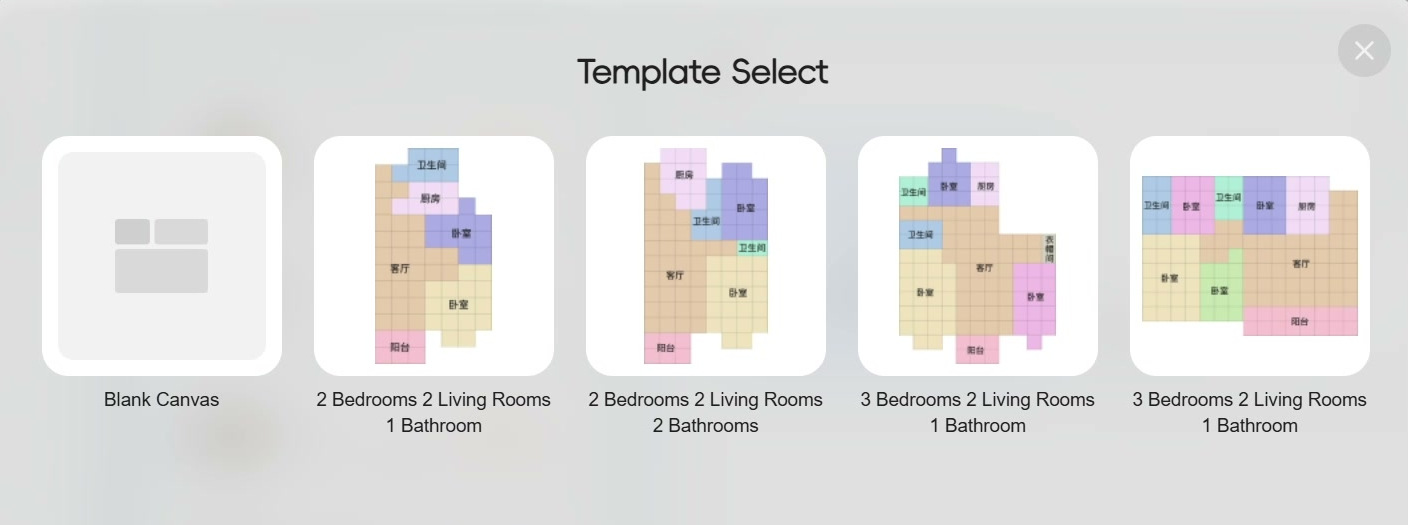
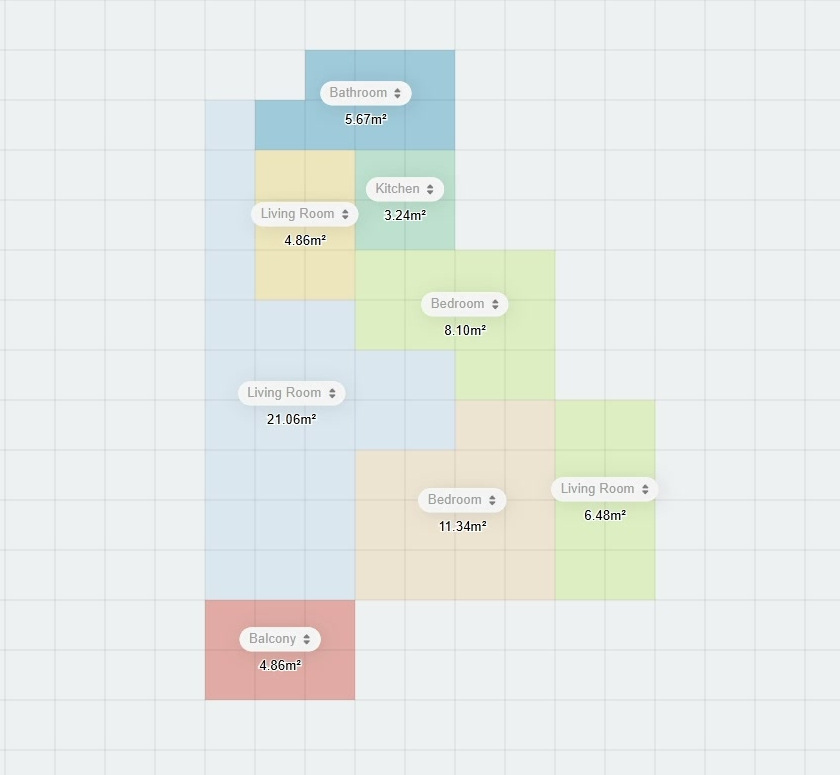
The grid in the next image shows one of the demo’s sample plans. Its colored sections help distinguish rooms and show how they join. Use your own measurements to set the dimensions of the rooms you are drawing.
4. Check openings in 2D and room connections in 3D
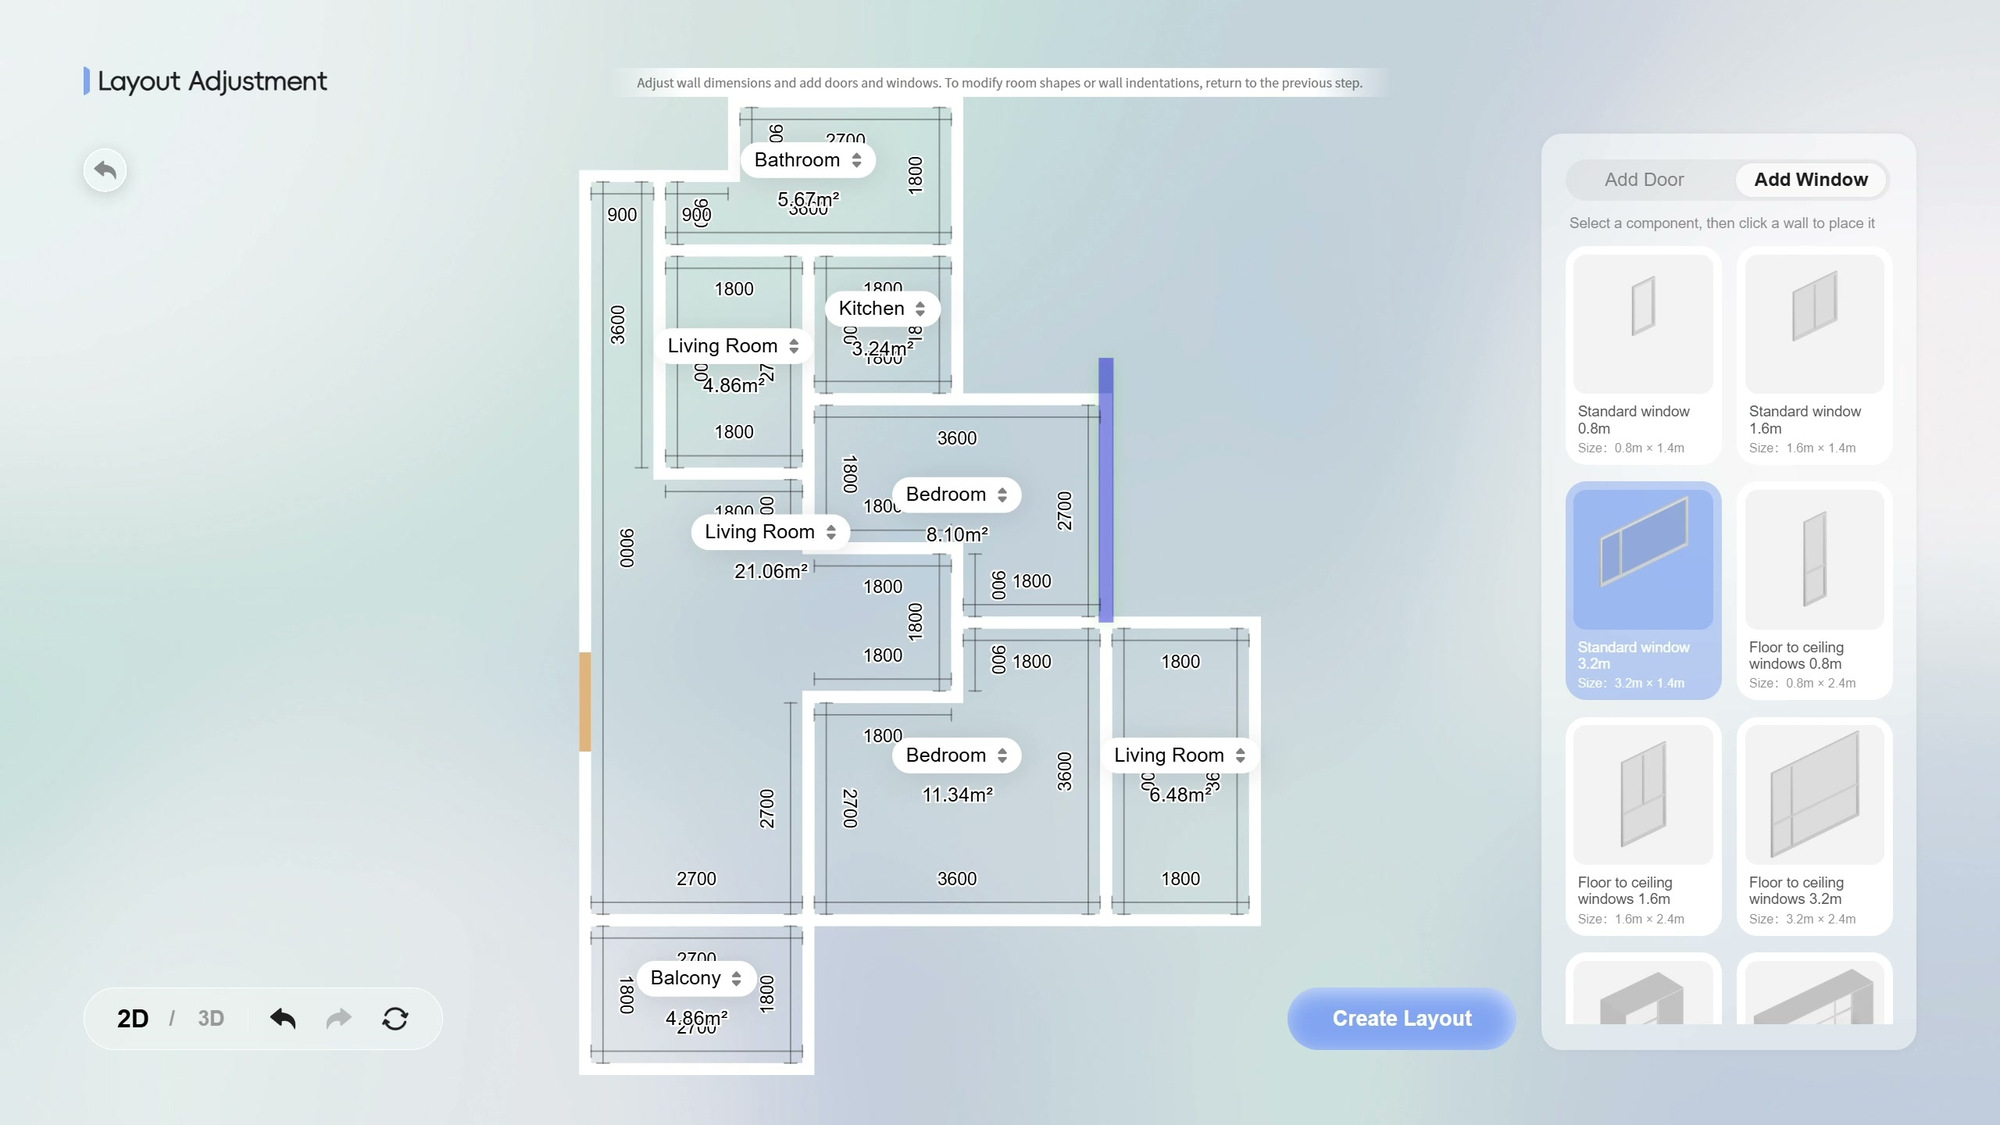
In Layout Adjustment, compare the wall lengths with your notes and add the doors and windows on the walls where they belong. Check the offset from your reference corner. The walkthrough demonstrates the wall, door and window tools in the SenHOME floor plan guide.
Open the 3D preview and look for anything that is easy to miss on paper, such as an opening on the wrong wall or a shallow recess drawn the wrong way. Return to the 2D plan to correct it. Once the sketch matches what you measured, use it to test furniture positions. Keep your written measurements for the final fit and delivery check. See the guide to reading room dimensions and checking furniture fit.