In this SenHOME recording, an existing blue armchair model appears in the Image to 3D viewer and is turned to show its dark underside. An earlier view contains a matching chair photo in Upload Picture. The selected history card still reads “Task processing - 0%”, so the visible result is a model preview available for inspection. This case follows that preview and its viewing angles.
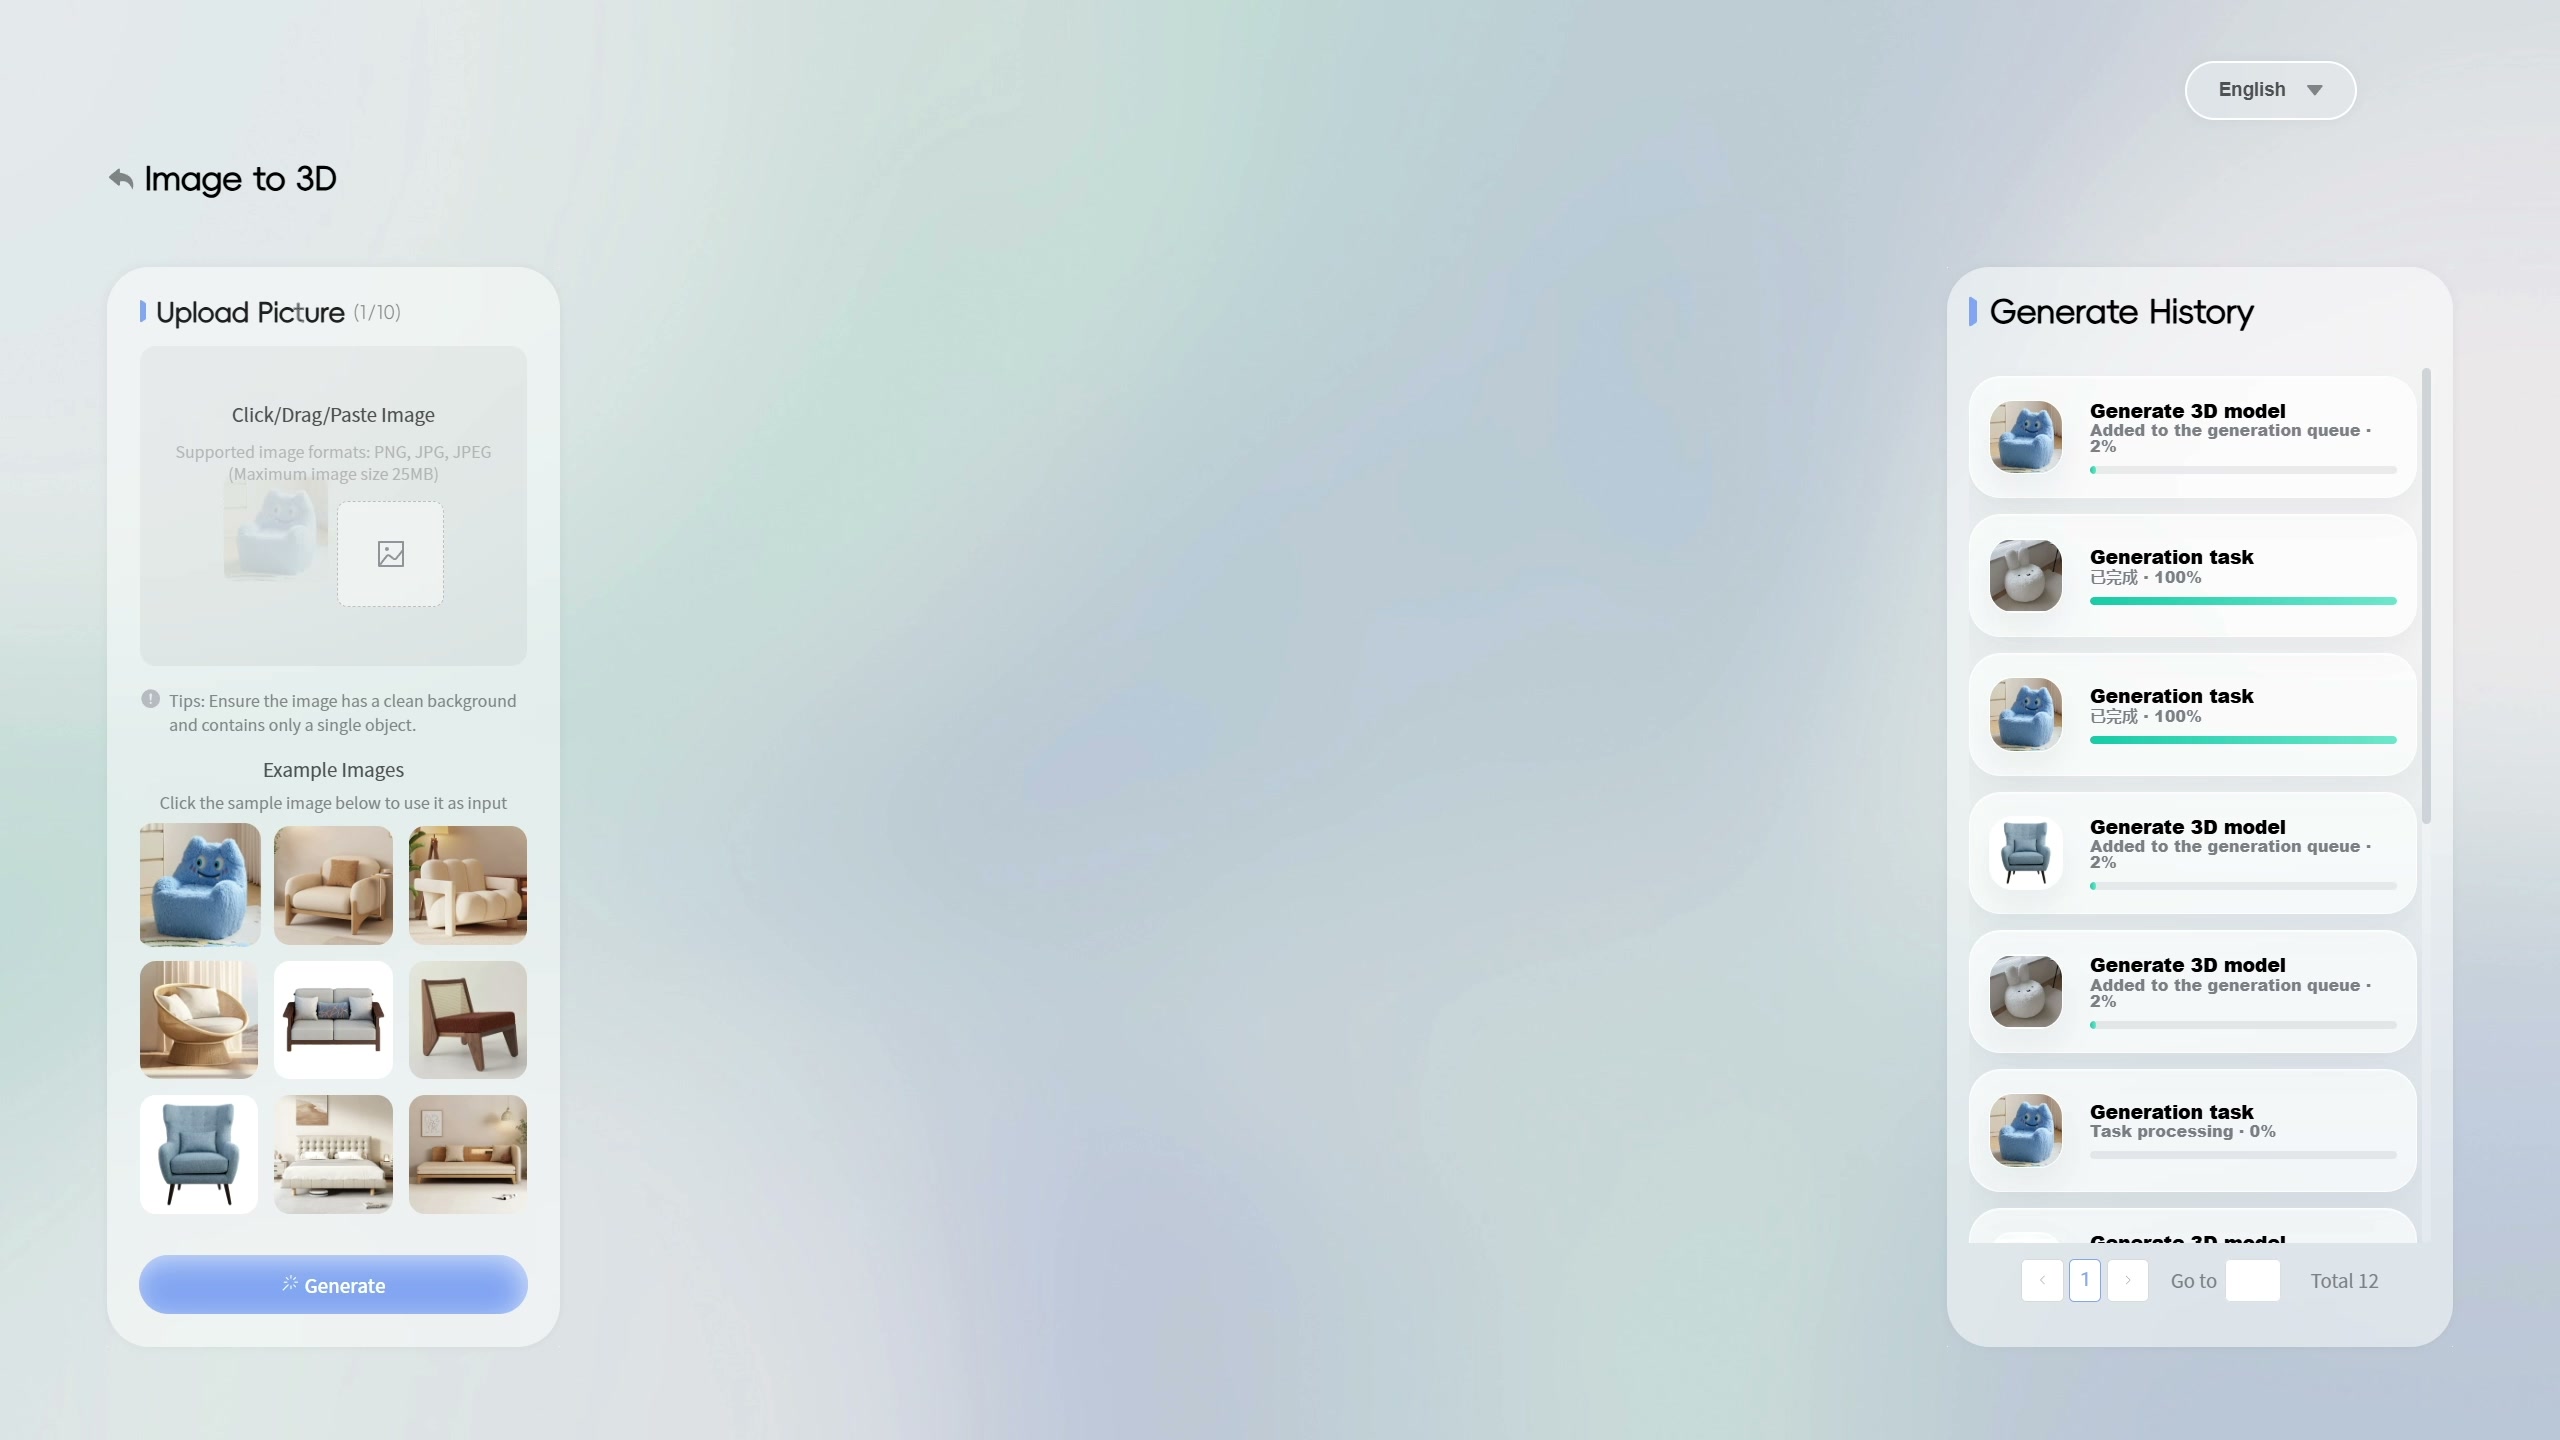
Start with the furniture image visible in the interface
The early view shows a blue character-shaped chair photo in the input area, whose counter reads 1/10. Example images sit below it, with Generate History on the right. A practical question for this comparison is how to inspect the chair’s overall volume beyond its front-facing photograph. The viewer provides another way to look at the object’s outline and the surface underneath it.
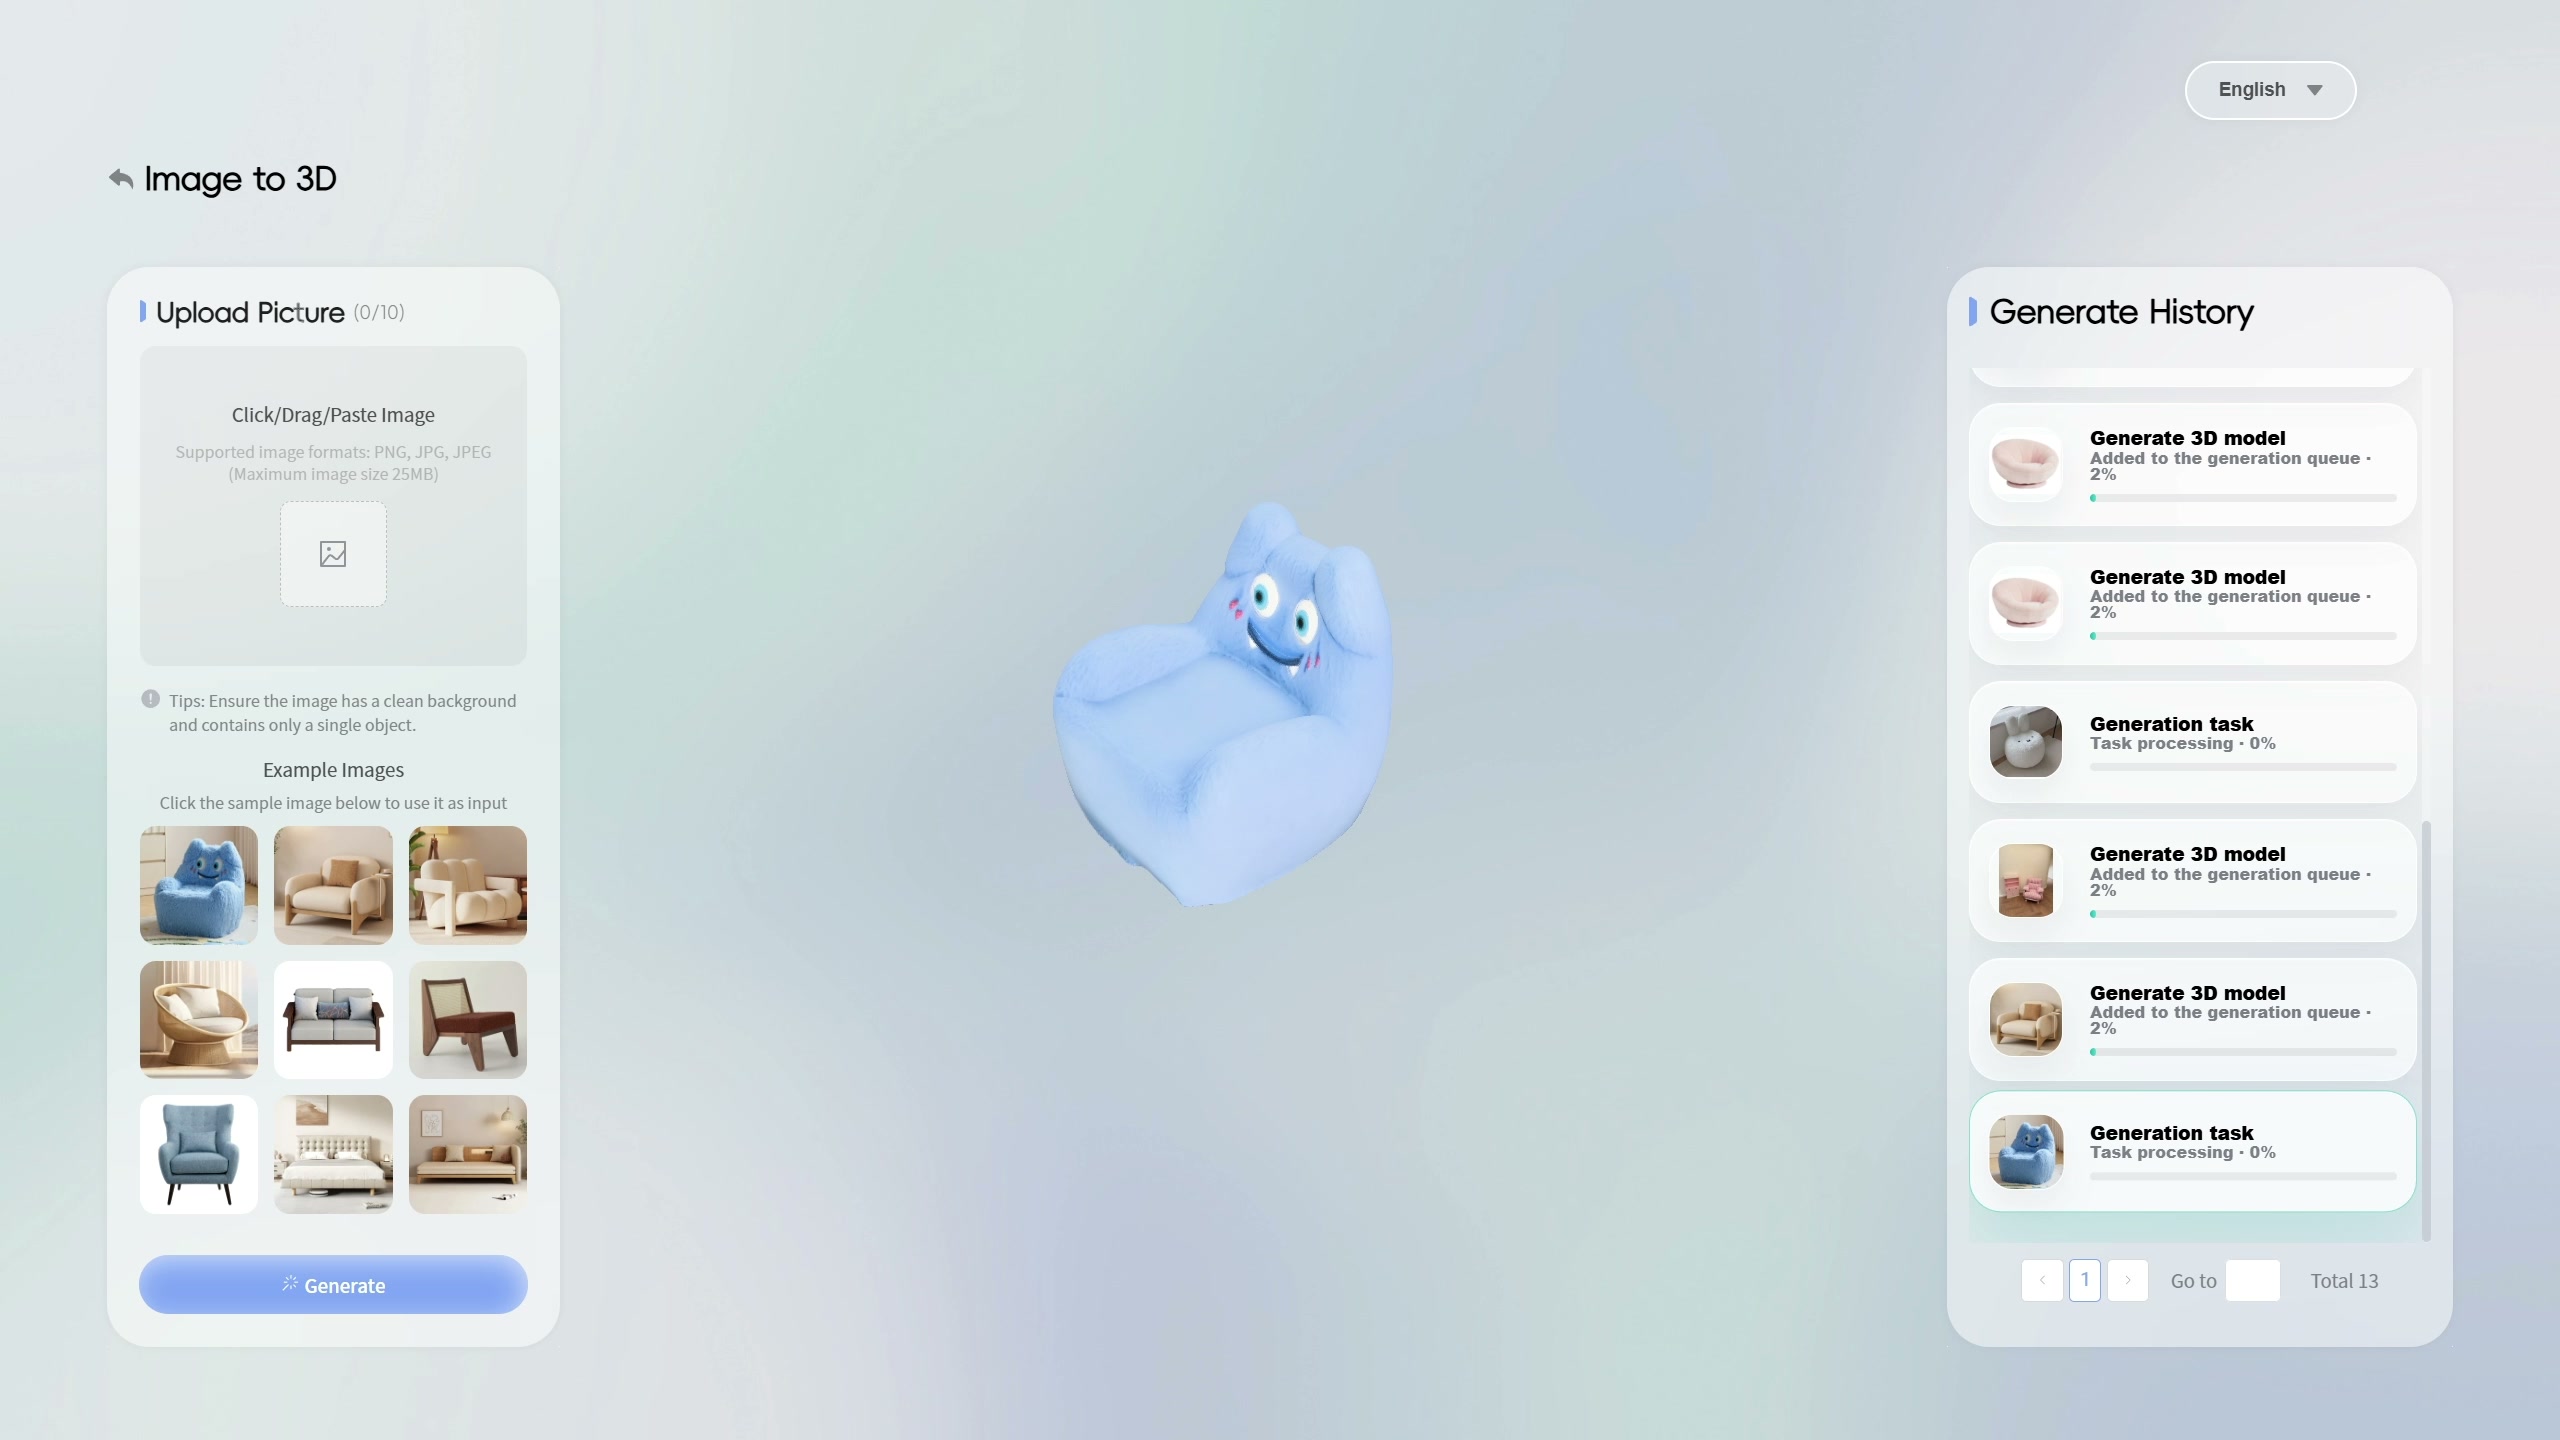
Read the model preview and its task status together
In the next selected view, the blue chair model is visible in the centre. The upload area now shows 0/10, and the history entry with the blue chair thumbnail has a highlighted border. That entry still displays “Task processing - 0%”. These details matter when reading the sequence. The recording supports inspecting the existing preview, while the history text leaves the completion of a new generation task unconfirmed.
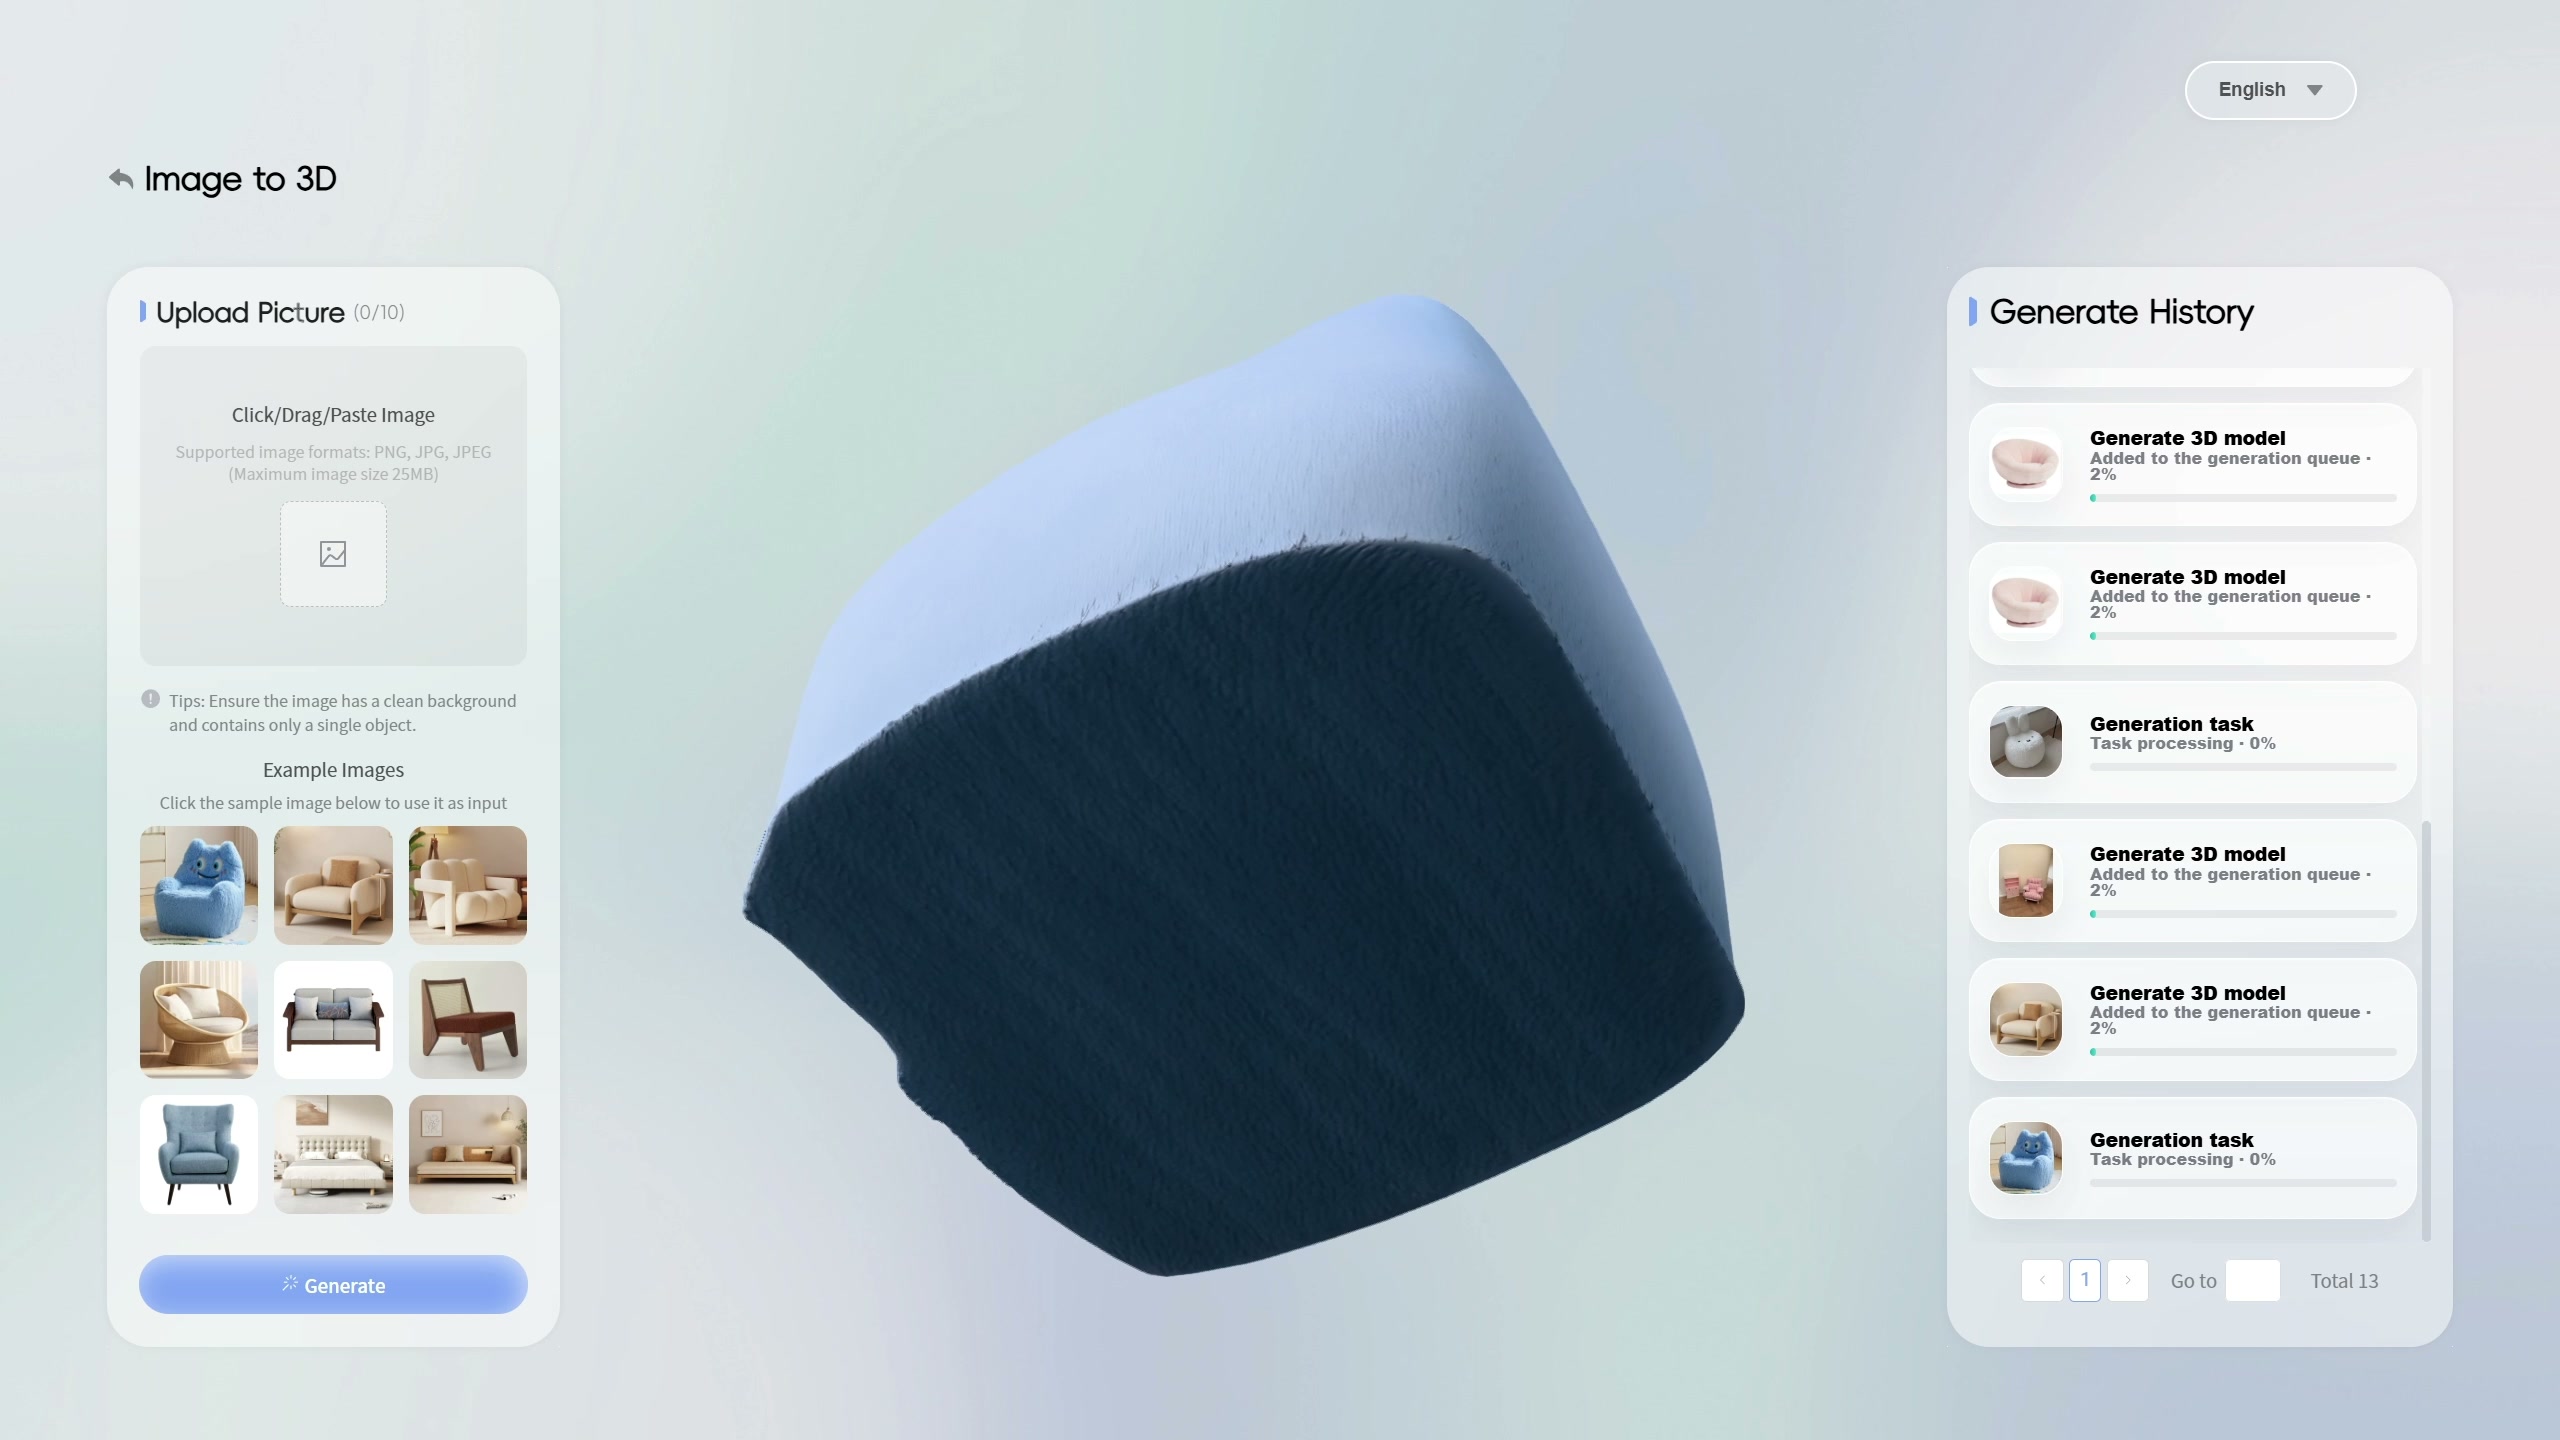
Turn the view toward the underside
The preview then changes from an upper front angle to a view beneath the chair. The dark base fills much of the centre, with the blue surface continuing around its edge. This viewpoint makes an area visible that the front photo leaves hidden. For an AI interior design tool, such inspection can help a user decide which parts of a furniture model need closer checking before further planning.
Use the preview as a record of what to verify
Compare the visible outline and surfaces with the product information you have. Keep questions about the underside, proportions and texture alongside the source image. Real dimensions and construction details need confirmation with the product supplier. The recording shows the viewer and its changing angles. New-task completion, accurate physical scale, placement in a room and export remain outside the demonstrated sequence, and the clip length gives no generation-time measurement.
The SenHOME Web overview introduces the product workspace. For organizing a check against source information, see the guide to checking AI interior design results. Use the same approach here to mark which model details you have checked and which still need evidence.